
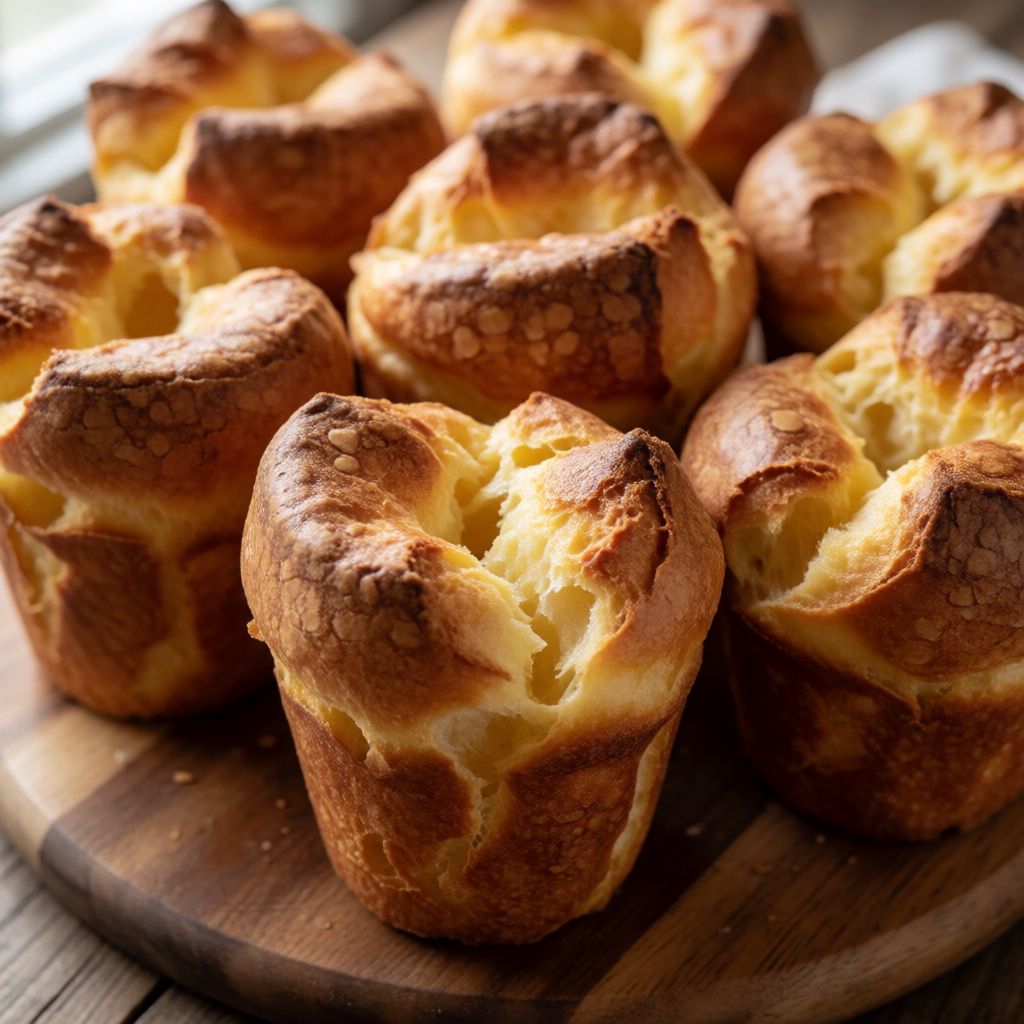
 AI photo
Popovers
Light, airy baked rolls made from a simple egg-and-milk batter, similar to Yorkshire pudding.
Labels are worked out automatically from the ingredients and can be wrong. Check the packaging if it matters to you.
Ingredients



Steps
Whisk together the eggs, milk and salt until smooth and foamy.
Stir the plain flour into the batter, then fold in the melted butter at the end.
Fill buttered ramekins or muffin tins halfway with the batter.
Bake in a preheated oven at 220°C on a wire rack on the bottom shelf for 10 minutes.
10 minReduce the temperature to 180°C and bake for a further 15–20 minutes, until the popovers are golden and cooked through.
18 minRemove from the oven, place on a wire rack and serve immediately.
A popover is not a bread and not a pancake — it's a shell blown up by steam. There's no raising agent in this batter at all, no bicarb, no yeast. What lifts it is water in the milk and eggs turning to vapour inside a skin of egg protein and flour, and that skin has to set hard enough, fast enough, to trap the steam before it escapes. That's the whole trick, and everything in the method serves it.
This is why the oven does two jobs, not one. The furious 220°C at the start isn't about cooking the inside — ten minutes is nowhere near enough for that — it's about making steam violently and setting the outer wall while it's still stretching, the way a soap bubble needs a thin film to hold its shape before it bursts. Drop to 180°C after and you let the inside finish drying and the walls firm up without the crust burning black while the middle's still batter. Skip that drop and you'll get a popover with a scorched collapsing roof and a wet floor.
Half-filling the tin matters for the same reason a kettle needs headspace: the batter has to have somewhere to go. Fill it to the brim and the steam has nowhere to push but sideways and over the rim, and you get a flat eggy puddle instead of a tall hollow dome.
The two eggs aren't just binding, they're the scaffold. Egg protein is what sets into that semi-rigid shell around the steam — flour alone gives you a pancake, egg alone gives you something closer to a savoury custard, and it's the two together, in this rough ratio to 90g of flour, that gives a wall strong enough to hold a dome but thin enough to stay hollow. Room temperature eggs whisk into a foam faster and more evenly than cold ones straight from the fridge — cold egg just sits there sluggish while you whisk, less air gets folded in, and a flatter start means a flatter finish.
Milk supplies most of the water that becomes your steam, plus a little protein and sugar that browns the crust — that's where the gold colour comes from, not the oven alone. Room temperature again so it blends smoothly into the eggs rather than shocking the mix and clumping the butter you fold in later. If you've only got milk straight from the fridge, that's fine, just give it a few minutes on the counter first — it costs you nothing and saves the batter a lumpy start.
Plain flour, not self-raising, and that's deliberate. Self-raising would add its own small bubbles throughout the batter via baking powder, fighting the one big steam cavity you're trying to grow, and you'd end up with something between a muffin and a pudding — neither one thing nor the other. The flour's real job here is gluten, a thin stretchy net that shares the load with the egg protein so the wall can expand without tearing. Any wheat flour with reasonable gluten does the job; gluten-free blends won't give you the same stretch, and this isn't the recipe to test that theory on.
The melted butter goes in last, folded gently, because it needs to still be liquid when it meets the batter — stir it in too early or let it cool and firm, and it seizes into little fatty lumps instead of spreading evenly through the mix. Its job is softness: a little fat between the egg-flour strands stops the baked wall from turning into chewy rubber, and it leaves a faint buttery note in the crust. Any neutral, low-smoke-point-safe fat works structurally — a flavourless oil will do the lifting just as well, you only lose that dairy finish.
For greasing the tin, the rule is simple: whatever fat you use has to survive the initial heat without smoking and let the popover slide out clean afterwards. Butter does both and tastes of itself, which is no bad thing. If you've just done a Sunday roast and there's a spoonful of dripping sitting in the tin, use that instead — it's free, it's in character, and it's exactly the kind of thrift that gave rise to this whole family of dishes in the first place.
One more thing nobody tells you and should: don't go opening the oven door in that first ten minutes to check on things. The wall is still wet and still forming — a blast of cold kitchen air now and the whole structure can sag before it's had the chance to set. Once you're into the second stage, at 180°C, it's set enough that a quick look won't hurt it. Judge it by the senses you've got, not the clock exactly: proper gold on top, sides firm when you press lightly, nothing wobbling inside. The minutes given are where that usually happens, not a guarantee — ovens vary, and a few minutes either way is normal.