
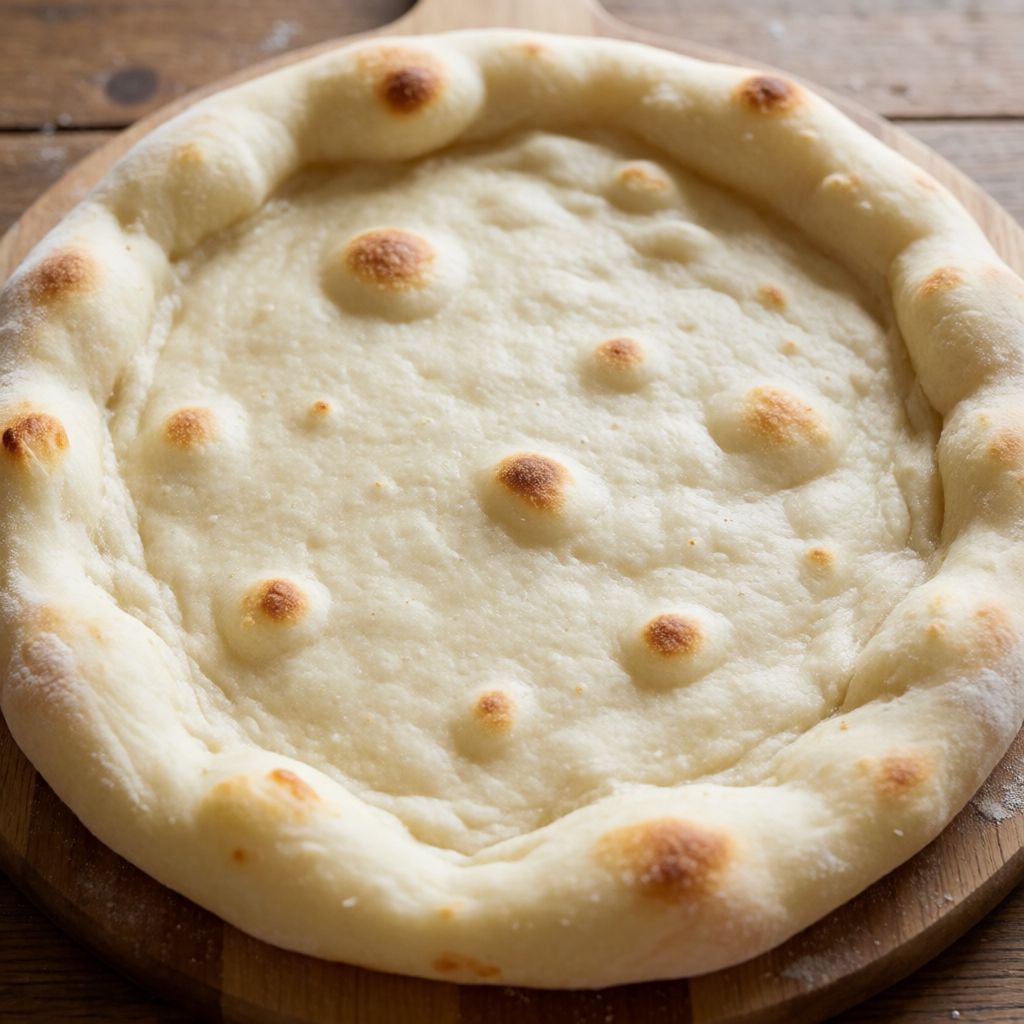
 AI photo
Homemade Pizza – Basic Dough Recipe
A simple homemade pizza dough recipe, ready for your favourite toppings.
Labels are worked out automatically from the ingredients and can be wrong. Check the packaging if it matters to you.
Ingredients
- 25 g Yeast fresh yeast; use about 2 sachets (14 g) of fast-action dried yeast if substituting
- 300 ml Water warm
- 3 tbsp Olive oil
- 1 tsp Salt
- 500 g Plain flour
- 1 tbsp Olive oil for greasing the bowl
- 1 tbsp Plain flour extra for rolling out




Steps
Dissolve the yeast in a bowl with warm water. Use 5 g fresh yeast for an overnight cold rise, or 25 g fresh yeast if the dough will only have 1 hour to rise.
Add a third of the flour, the olive oil and the salt, and mix well until smooth. Gradually add the rest of the flour, stirring constantly.
Dust the work surface with flour and knead the dough by hand until smooth and elastic.
Wash the bowl, grease it with olive oil, put the dough back in and turn it to coat the whole surface with oil. The oil makes the dough easier to work with and makes the crust especially crisp when baked.
Let the dough rise for about 45-60 minutes. If you put the dough in the fridge for a cold rise, it should rise for longer, ideally overnight.
Dust the work surface with flour, divide the dough in half and shape two round pizza bases by hand.
We have a pizza pan and cook the pizza on an outdoor grill, but you can also use a regular baking sheet and an oven.
Preheat the oven to 250°C along with the pan, so it gets nice and hot.
Or even better, use a baking stone — this makes the base even crispier.
Put the pizza on the pan, add your favourite toppings and bake for about 10 minutes, or until the base is crispy.
10 min
Call it bread dough with a disguise - flattened out, brushed with good oil, and asked to carry toppings instead of rising tall. What actually decides whether it works has nothing to do with kneading harder or fancier flour. It comes down to two things: how fast you let the yeast work, and how hot the surface is that the dough lands on.
Look at the two yeast amounts given - 5 g for an overnight rest in the fridge, or 25 g if you've only got an hour. That's not a style preference, it's a trade. Yeast eats the sugars in flour and produces both gas and flavour compounds as it goes. Slow it down with cold and less yeast, and it has time to build flavour before it's spent. Rush it with a big dose of yeast at room temperature, and you get the same lift in a fraction of the time - but a flatter, more one-note taste. Some say more yeast makes better bread. No - it makes faster bread. Those aren't the same thing.
The second fight happens the instant the raw dough touches the hot pan. That's thermal shock, and it's what turns the underside crisp instead of pale and a bit damp. A domestic oven, even flat out, won't get near what a proper pizza oven does - 250°C is roughly the ceiling most home ovens offer, full stop, no amount of twiddling the dial changes that. So the lever you actually have is preheating something heavy - a stone, a solid metal pan - right alongside the oven, so the base gets its jolt of heat from contact, not just from hot air drifting around it.
Yeast is the engine, and whether it's fresh (crumbly, pale, smells faintly of banana and beer) or dried granules, its job is identical: it needs sugar, water, and warmth to wake up and start producing the gas that makes dough rise. Dissolve it in the water first rather than mixing it straight into the flour - this isn't ritual, it's just giving it a head start so it's already active by the time it meets the full mass of flour. If you've only got dried yeast, fast-action needs no dissolving step at all and can go straight into the flour - check the packet, because brands vary and that's one place following the packet beats following any recipe.
The water's temperature matters more than its quantity. Too hot and you kill the yeast outright - it's a living thing, not a chemical that just needs diluting. Too cold and it simply sits there, sluggish. You don't need a thermometer for this: water that feels warm but not hot against the inside of your wrist is close enough, the same test you'd use for a baby's bottle. If it stings, let it cool.
Olive oil here is doing two jobs - inside the dough it keeps the crumb from drying out and gives the crust that particular short, almost fried crispness at the edges rather than a hard biscuit snap. On the outside, coating the risen dough in oil before it proves stops a skin forming on the surface, which would otherwise crack when you stretch the dough out later. Any neutral-tasting oil with no character of its own does this job - olive oil is traditional mostly because it's what was on hand in the places this dough comes from, not because sunflower oil would ruin anything. Where olive oil contributes more is flavour, so use a reasonable one, not necessarily an expensive one.
Salt goes in with the oil rather than straight onto the yeast for a reason - salt slows yeast down and tightens gluten, so direct contact with a concentrated dose can stun it before it's had a chance to get going. A teaspoon across 500 g of flour is a light hand, there to season and to firm the structure a little, not to flavour the dough on its own - the toppings will do most of that talking.
Plain flour is the right choice here, not strong bread flour, because you're after a dough that stretches without fighting you - the higher-protein flours used for chewy artisan loaves make a tougher, more elastic pizza base than you actually want. Knead until the dough stops tearing and starts stretching smoothly - that's gluten forming a web that will trap the gas bubbles the yeast makes. This takes genuine working, by hand, for several minutes, not a token squeeze - rushing the kneading is the real cause of a dense, flat-tasting base, far more often than the yeast being at fault.
For the kitchen you've actually got - no proper pizza oven, maybe not even a stone - a heavy baking tray does most of what a stone does, just a touch less dramatically. Put it in to heat up with the oven, not after. The 1 tbsp extra flour for rolling out is there purely to stop sticking; use the least you can get away with, because flour worked into the dough's surface at the last minute toughens the crust where you want it thinnest and crispest.