
 AI photo
Sourdough Bread Rolls
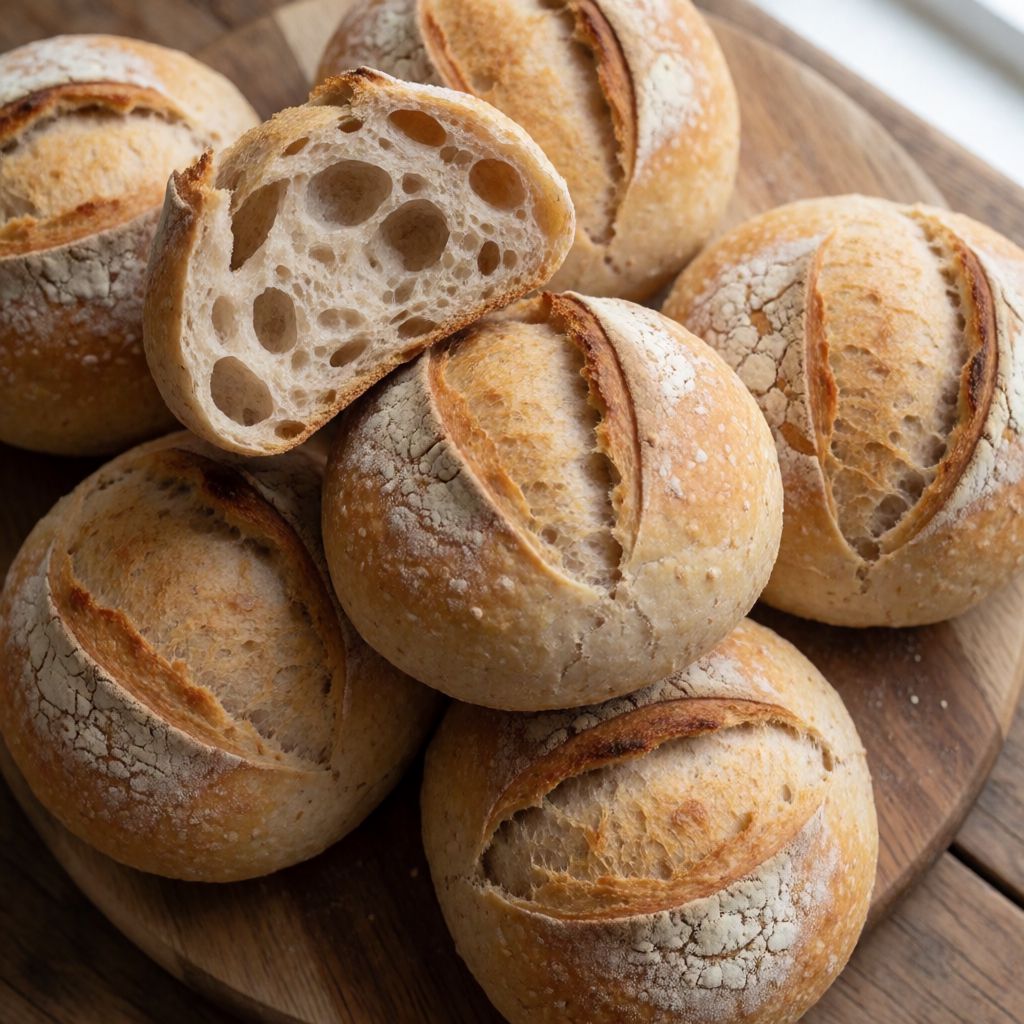
Soft sourdough rolls made with your own starter, left to ferment slowly for a light, airy crumb.
Labels are worked out automatically from the ingredients and can be wrong. Check the packaging if it matters to you.
Ingredients
- 100 g sourdough starter from the fridge
- 100 g strong white bread flour
- 100 g water
- 60 g wholemeal flour
- 180 g strong white bread flour
- 360 g strong white bread flour
- 500 ml water cold
- 12 g salt




Steps
Starter: mix 100 g of active starter, 100 g of water and 100 g of strong white bread flour until smooth.
120 minCover loosely and leave on the kitchen counter until at least doubled in size. This usually takes about 1–3 hours, depending on the strength of the starter and the temperature of the kitchen.
120 minSourdough roll dough: tip the flour and water into a bowl and mix well. Leave on the kitchen counter for 1 hour.
60 minAdd half of the starter and the salt to the dough. Keep the remaining starter for future baking.
Knead the dough with a mixer for about 5 minutes, or by hand in the bowl with a wooden spoon. The dough should be very soft; no extra flour is needed.
5 minLeave the dough in the bowl, covered, on the kitchen counter for about 2 hours. During this time, fold the dough at least 4 times.
120 minTo fold the dough: wet your hands with cold water, slide them under the dough in the centre of the bowl, lift the dough and fold it over. Repeat until the dough feels springier, firmer and comes away easily from the sides of the bowl.
Leave the dough for another 1 hour on the kitchen counter without folding it. Watch it and put it in the fridge once it has risen by about 30%.
60 minThe dough can prove in the fridge, covered, for 8 to 18 hours.
1080 minBaking. With a baking stone: turn the oven to its maximum temperature and heat the stone on the rack for 1 hour before baking.
60 minWithout a baking stone: turn the oven to its maximum temperature with a tray inside, and heat the oven together with the tray.
Take the dough out of the fridge and, using a soft scraper, gently tip it onto a lightly floured surface. Fold the dough once and dust it lightly with flour. Cut the dough into rolls with a firm scraper.
With a baking stone: take the rack with the stone out of the oven and place the rolls directly onto the hot surface. Lower the oven temperature to 180°C fan, ideally with steam, and bake the rolls for 7 minutes at 180°C fan with steam.
20 minThen raise the temperature to 230°C and continue baking until the rolls have a good crisp crust.
Without a baking stone: place the rolls on a sheet of baking paper and transfer them onto the hot tray. Lower the oven temperature to 180°C fan, ideally with steam, and bake the rolls for 7 minutes at 180°C fan with steam.
20 minThen raise the temperature to 230°C and continue baking until the rolls have a good crisp crust.
Take the rolls out of the oven and let them cool slightly on a wire rack before serving.
This is bread built on patience rather than yeast packets — twelve rolls that get their lift, their sour edge and their open crumb from wild yeast and bacteria you've been feeding in a jar, not from a sachet bought at the shop. What decides whether it works is not skill with your hands, it's reading the dough: how fast it moves, how it feels when you fold it, whether it springs back or sits there like a wet flannel.
Some say sourdough needs a wood-fired oven and years of practice to get right. No — because the actual mechanism is bacteria and wild yeast fermenting slowly at room temperature, something that happens the same whether you're in a Moroccan bakery or a flat in Leeds. What changes is time, and time is free. You're not fighting your domestic oven here, you're using your fridge as a second piece of equipment — the cold slows fermentation right down so the dough can develop flavour overnight without turning to soup or over-proving into a flat puddle by morning.
The whole first stage — starter mixed, then left to double — isn't decoration, it's a test. If your starter hasn't roughly doubled in that 1–3 hour window, it isn't strong enough yet to lift a loaf, and no amount of kneading later will fix that. Feed it again and wait a day rather than bake with a tired starter; a roll made from weak starter stays dense and tastes flat, no matter how long you leave the rest of the dough to prove.
The starter itself — 100g flour, 100g water, 100g of your fridge starter — is just a feeding, not a separate recipe. You keep half back after this for the next bake, which is the whole economic logic of sourdough: once you have a healthy starter, you never buy yeast again, you just feed a spoonful of flour and water to a jar every so often. If you've no starter at all, you can't substitute dried yeast into this recipe and call it sourdough — you'd get bread, just not this bread, since the sour flavour and the particular chew come from the specific mix of bacteria and wild yeast that's built up in your jar over weeks.
The wholemeal flour, just 60g buried in the dough, isn't there for health-food virtue. Wholemeal carries more of the wheat's natural yeast and minerals that feed fermentation, so even a small amount nudges a sluggish starter or dough along faster than white flour alone would. If you haven't got wholemeal, strong white on its own still works — it'll just be a touch slower to get going, so give the dough a little longer at each resting stage rather than panicking that something's wrong.
Strong white bread flour, not plain, is non-negotiable here and it's not snobbery — it's protein content. More protein means more gluten forms when you mix water in, and more gluten means the dough can trap the gas that fermentation produces instead of collapsing. Plain flour will give you flatter, denser rolls because the structure simply isn't strong enough to hold the rise.
Cold water in the main dough, specifically, is doing a job: it keeps the dough's temperature down during that long hour of sitting out, so fermentation doesn't race ahead of the gluten's ability to keep up. Warm water would speed the yeast up faster than the dough can structurally cope with, and you'd get a slack, overproved mess by the time you come to shape it.
Salt goes in after the initial soak, not before, for a reason worth knowing: salt tightens gluten and slows fermentation, so if you mixed it in at the very start it would fight the yeast's early momentum. Added at step 4, once the flour's already hydrated and the starter's folded in, it seasons the dough and starts firming the structure right when you want that firming to begin, not before.
The baking stone versus tray split is just about heat mass. A stone (or an upturned heavy baking tray, if that's what you've got) holds heat and gives the rolls a blast of bottom heat the moment they land, which is what makes the base crisp rather than pale and soft — a domestic oven door lets heat out every time you open it, so that stored heat in the stone compensates for the heat you lose. The steam in the first seven minutes keeps the crust soft long enough for the rolls to expand fully before it sets; skip the steam and the crust can form too early, trapping the rise and giving you a roll that's dense underneath a hard shell. A roasting tray with a cup of boiling water tipped in at the last second, quickly and carefully, does the same job as a steam function most home ovens don't have.