
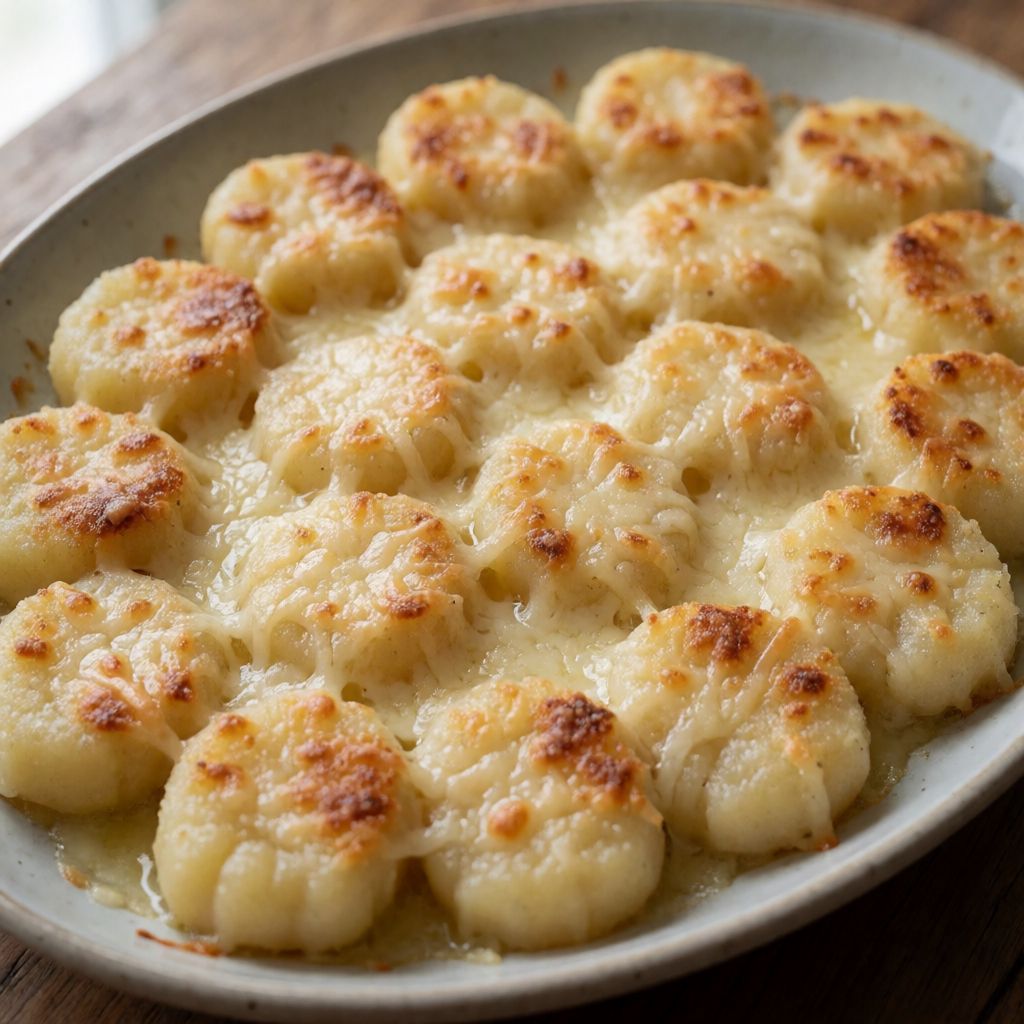
 AI photo
Roman-Style Semolina Gnocchi with Parmesan
Creamy semolina discs baked with butter and cheese, finished under the grill — a classic Roman first course.
Labels are worked out automatically from the ingredients and can be wrong. Check the packaging if it matters to you.
Ingredients




Steps
Pour the milk into a large saucepan and bring to the boil with half of the butter, salt and nutmeg.
Pour in the semolina in a thin stream, whisking quickly with a hand whisk.
Keep cooking on a low heat, stirring constantly, until the mixture reaches a creamy consistency.
Add the lightly beaten egg yolks.
Add the Parmesan, mix well and remove from the heat.
Spread the still-hot mixture onto a sheet of baking paper.
Shape it into a cylinder, rolling it up in the paper to about 5 cm in diameter.
Leave to cool for about 30 minutes, then slice.
30 minArrange the gnocchi in a buttered baking dish, overlapping the slices slightly.
Drizzle with melted butter, add a few knobs of butter, the Pecorino and sage leaves.
Bake the gnocchi at 180°C for about 20 minutes, switching on the grill for the last few minutes.
20 minRemove from the oven and serve immediately.
Forget everything the word "gnocchi" promises you. There's no potato here, no little dumpling pinched by hand. This is set semolina porridge, sliced into coins and baked under cheese and butter until the top goes dark gold. The Romans called it gnocchi because it ends up on the plate looking like dumplings — the method is pure polenta logic, not pasta logic.
What decides whether it works is the porridge, not the oven. You're making a béchamel-strength paste: milk thickened by starch until a spoon dragged through it leaves a wall standing for a second before it slumps back. Too thin, and your cylinder won't hold its shape — it'll ooze instead of slice. Too thick, and you've basically made cement, and no amount of butter on top will make it pleasant in the mouth. The whisking-in of semolina in a thin stream isn't fussiness, it's the only way to stop lumps: dry starch meeting hot liquid in a clump seals itself and stays raw in the middle forever.
The second decision point is the bake. You're not cooking the gnocchi in the oven — they're already cooked, from the porridge stage. The oven is there to melt the cheese into a crust and to warm the inside back through. That's why the grill goes on at the end: it's a shortcut to colour that a fan oven alone won't give you in the time you've got, because ordinary domestic ovens brown slowly and unevenly from the top element. Watch it, don't time it — you want patches of real brown, not just pale melted cheese, and a grill left unwatched for two minutes too long gives you bitter burnt Parmesan instead of nutty crust.
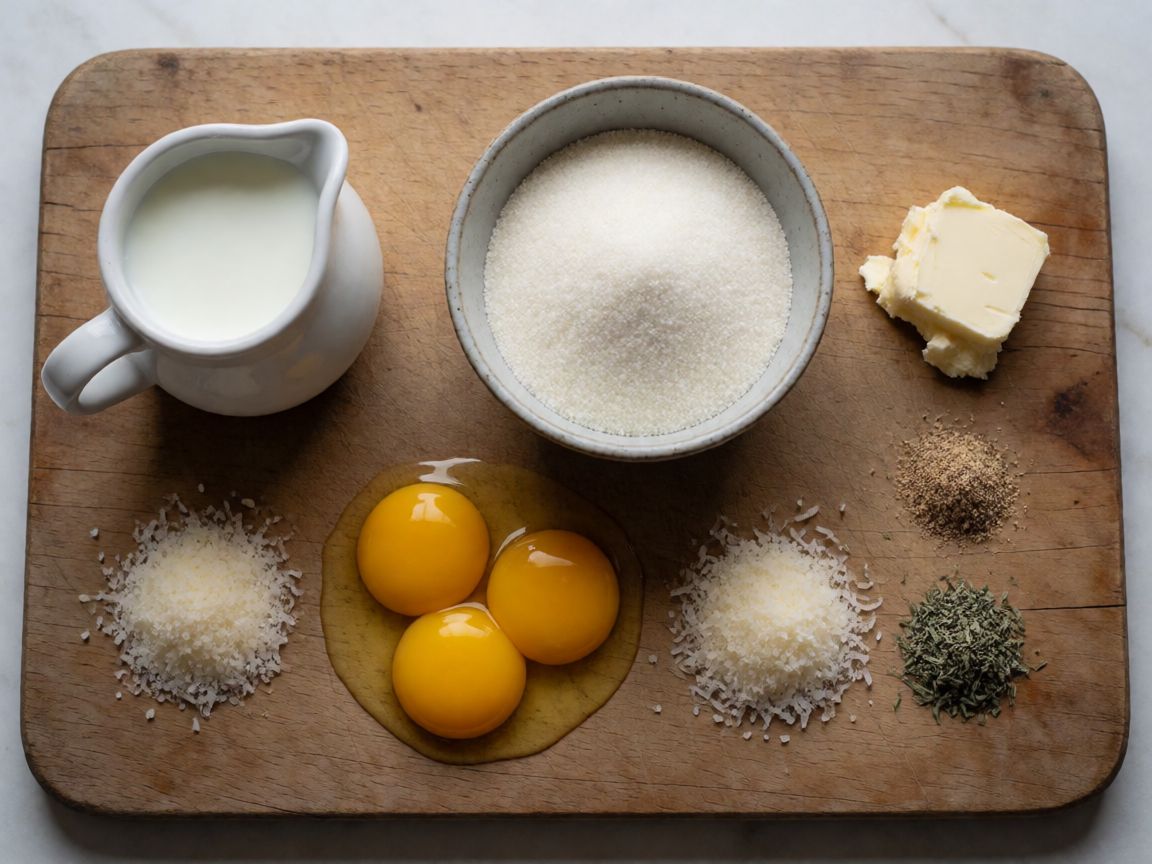
Milk and semolina are the whole skeleton of this dish — everything else, including the cheese, is seasoning on top of a technique. Semolina here isn't standing in for flour; it's chosen because its coarser, harder starch granules swell slowly and hold their shape once set, which is exactly why this can be sliced into firm discs rather than collapsing like a cooked cornflour sauce would. If you can't find semolina, fine polenta (cornmeal) behaves close enough — same slow-swell logic — though the flavour tilts sweeter and the texture a touch grittier. Ordinary flour won't do this job; it gelatinises differently and you'll get paste, not porridge that sets firm on cooling.
Butter goes in twice, for two different jobs. Half goes into the milk at the start to carry fat through the whole mixture — fat coats the starch granules a little and keeps the final texture from tasting like plain hot milk thickened with dust, which is what unbuttered semolina porridge tastes like. The second half goes on top before baking, where its job is purely to help the cheese melt and brown rather than just dry out under the grill's heat. Any neutral fat with no smell of its own could stand in for the first addition — a flavourless vegetable oil, say — but you'd lose the richness that makes this a dish and not a cereal. For the topping, though, butter's the only sensible choice: its milk solids are what brown and give you that nutty crust smell under the grill.
The egg yolks are a binder and an enrichener, not a leavening agent — there's no rise to speak of here, so don't expect puffiness. They firm the mixture slightly as it cools and add colour and a silkier mouthfeel. Beat them lightly before adding and stir them in off the direct heat or just as it's coming off, because a hot pan plus raw yolk straight in risks scrambling at the edges — small flecks of cooked egg in your smooth porridge, which nobody wants to find.
Parmesan and Pecorino do different work despite both being hard sheep-or-cow cheeses grated fine. Parmesan, worked into the hot mixture, melts in and seasons it from within — savoury depth, less saltiness. Pecorino Romano, scattered on top before baking, is sharper and saltier and is there to crust and bite through on the surface, giving contrast rather than blending in. If you've only got one cheese in the fridge, use it for both jobs rather than skipping either step — the dish survives on one hard cheese, it just loses a layer of contrast. A vegetarian hard cheese without animal rennet works exactly the same way if that matters to you.
Nutmeg is doing real work, not decoration — milk-based sauces taste flat and slightly cloying without it; a few scrapes cut that cloying edge the same way it does in a béchamel. Sage leaves tucked in before baking crisp slightly in the butter and give you a herb note that cuts the richness of all that cheese and milk — if you haven't got sage, a few thyme leaves do something similar, though the character shifts.
Patience here isn't about hovering — it's about the 30 minutes you let the cylinder cool and set before slicing. Cut it warm and soft and the slices smear instead of holding a clean edge; the slice has to firm up as the starch sets properly on cooling, the same physics that makes a cooled cake slice cleaner than a warm one. Rush that step and you'll be baking a shapeless heap instead of neat overlapping coins — it'll still taste fine, it just won't look like the dish it's meant to be.