
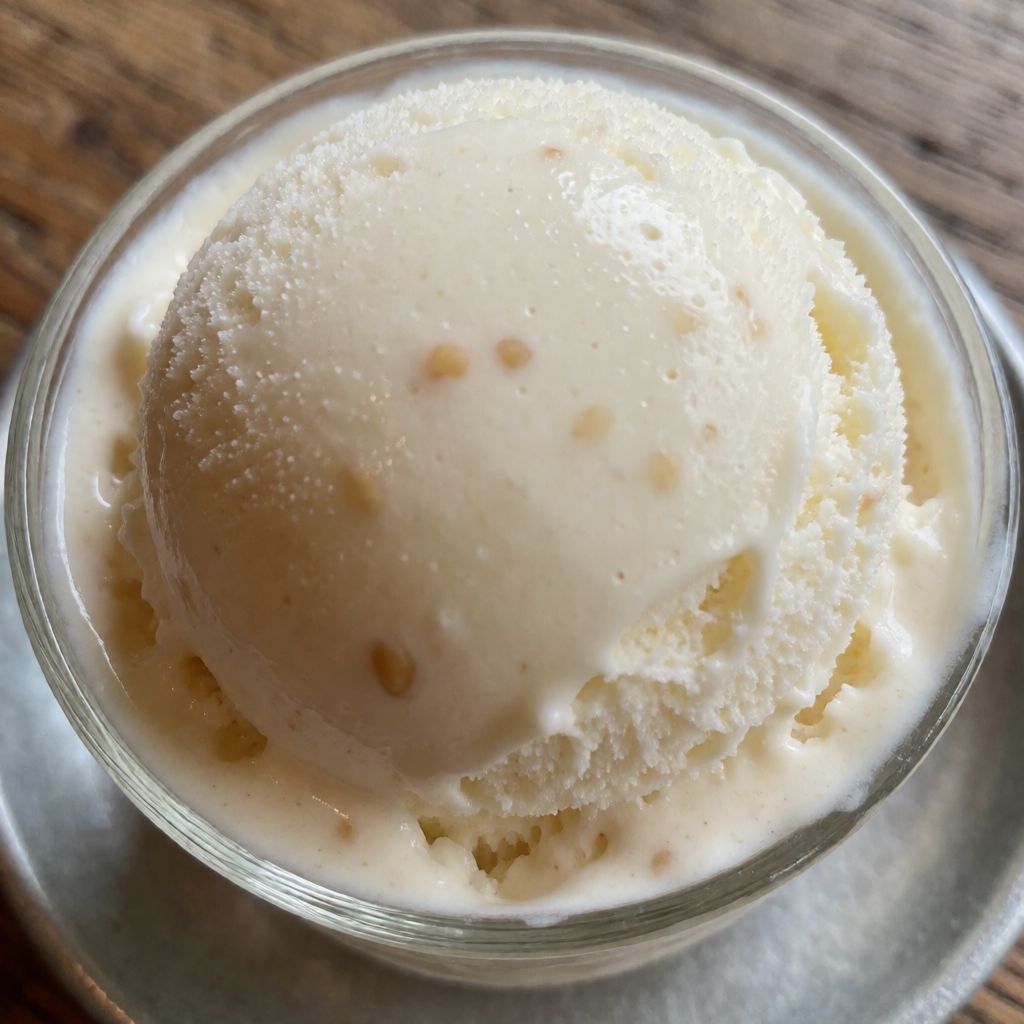
 AI photo
Pine Nut Ice Cream
A silky custard ice cream enriched with toasted, ground pine nuts for a nutty depth of flavour.
Labels are worked out automatically from the ingredients and can be wrong. Check the packaging if it matters to you.
Ingredients
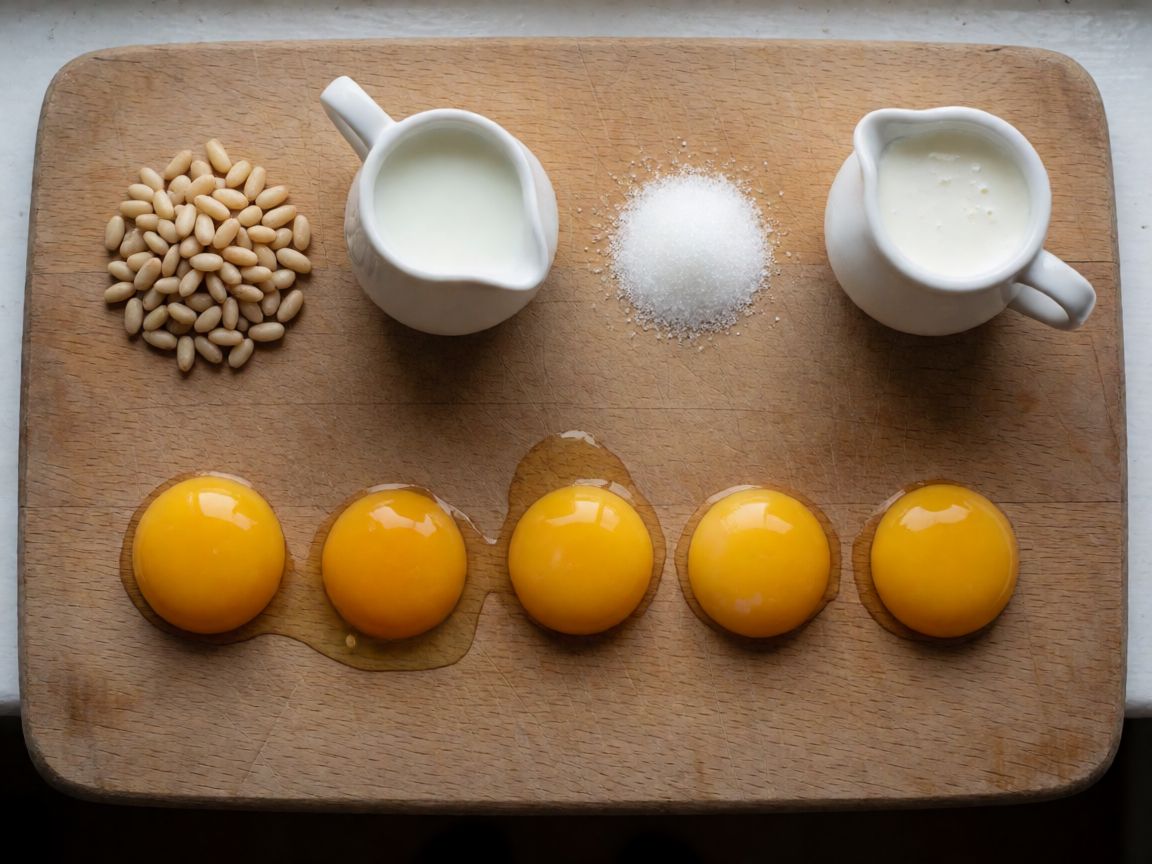





Steps
Toast the pine nuts in a dry, hot pan, stirring constantly, until golden and lightly browned.
6 minGrind the pine nuts in a food processor to a fine crumb.
3 minPut the pine nuts, milk and salt in a pan and slowly heat, stirring, to about 85°C, then blend until smooth. If you want an ice cream without nutty bits, you can strain the nut milk.
I leave the nuts in, as they give the ice cream flavour and a pleasant texture.
Whisk the egg yolks with the sugar until light and fluffy.
Heat the cream and the milk mixture in a pan until almost boiling.
5 minSlowly pour the hot milk mixture into the bowl with the egg mixture, whisking constantly.
3 minPour everything back into the pan and slowly heat to exactly 80°C – check with a sugar thermometer.
Chill the ice cream base in the fridge for 1 hour, or overnight, then churn it in an ice cream maker.
60 minPut the finished ice cream in the freezer for 2 hours before serving.
120 min
Pine nut ice cream is really two techniques stacked on top of each other: an infusion and a custard. Everything else on that list is housekeeping. You toast and grind nuts to pull their oil into milk — that's the infusion, the flavour-maker. Then you build a crème anglaise with yolks, sugar and cream, thickened by heat alone, no flour, no gelatine. Get those two mechanisms right and the rest looks after itself.
The toasting step is not decoration. Pine nuts are mostly oil wrapped in a very thin cell wall, which is why they go from pale to black in the time it takes you to answer the phone. Dry pan, constant movement — because the moment that thin shell gives up its oil, the pan surface under it is hotter than the nut can survive, and burnt oil tastes of nothing but burnt oil. Some say toast them in a little butter or oil for extra flavour — no, because the nut already carries its own fat, and dropping it into a puddle of someone else's just fries the outside and drowns the aroma you were trying to draw out.
Pine nuts earn their price, and it's not fashion — it's harvest. A cone takes two to three years to mature, has to dry and be cracked by hand or by old, slow machines, and yields very little per kilo of cone. That's why the recipe asks for only 100g against 700ml of dairy: it's a background note, like the pine nuts in pesto, not a bulk ingredient. If the price puts you off, any oil-rich nut that toasts cleanly will do the same job — hazelnuts, cashews, even blanched almonds — judge by the criterion, not the name: a nut with enough of its own fat to brown without added oil and to release that fat into warm milk.
Why heat the ground nuts and milk to 85°C rather than boil them? Flavour sits in the fat, and fat releases its aroma compounds into warm liquid steadily, not suddenly — boiling does nothing extra for extraction and risks catching the milk solids on the bottom of a thin domestic pan, which tastes of scorched milk for the rest of the dish. Keep it moving, keep it under a simmer, and you're fine. Straining afterwards is a texture choice, not a correctness one — leave the ground nuts in if you want little flecks of flavour and bite in the finished ice cream, the way Stalic leaves them; strain if you want something closer to a plain custard ice cream with pine nut in the background.
Whipping cream earns its place here on fat content, not richness for its own sake. Fat is what keeps ice crystals small and separate as the mixture freezes — without enough of it, water molecules link up into the gritty, icy texture you get from cheap ice cream. Don't substitute milk for cream here; that's not a flavour swap, it's removing the structural ingredient. Any cream in the 35% fat region does the job; single cream, at half that, won't.
The yolks are doing double duty: thickening the custard and acting as an emulsifier, binding fat and water into something smooth rather than something that separates in the freezer. Whisk them with the sugar until they turn pale and fall off the whisk in a slow ribbon — that's the sign to work to, not a stopwatch count, because yolk size and fridge temperature change how fast that happens.
Chilling the base for at least an hour, ideally overnight, is patience earning you two things: the pine nut flavour has time to finish moving into the fat, and a properly cold base lets a domestic ice cream maker do its job fast. Home machines have modest chilling power compared to a commercial one — feed them a cold base and they can freeze it quickly enough to keep ice crystals small; feed them a warm one and they'll struggle, and the extra time at a half-frozen state is exactly when large, gritty crystals form. If you don't own a machine, you can get there by hand: pour the base into a flat container in the freezer and beat it with a fork every half hour until it sets, breaking up the ice crystals each time before they can grow.
The final two hours in the freezer after churning aren't about more freezing in general — the machine already brings it to a soft-serve state, somewhere around minus five to minus eight. A domestic freezer runs colder, closer to minus eighteen, and the tub needs time to equalise all the way through so you get a scoopable block rather than a soft centre and a hard crust. Judge it the way you'd judge butter left out for a Sunday roast and then put back in the fridge: press it with a spoon — give, not crack, is what you're after.