
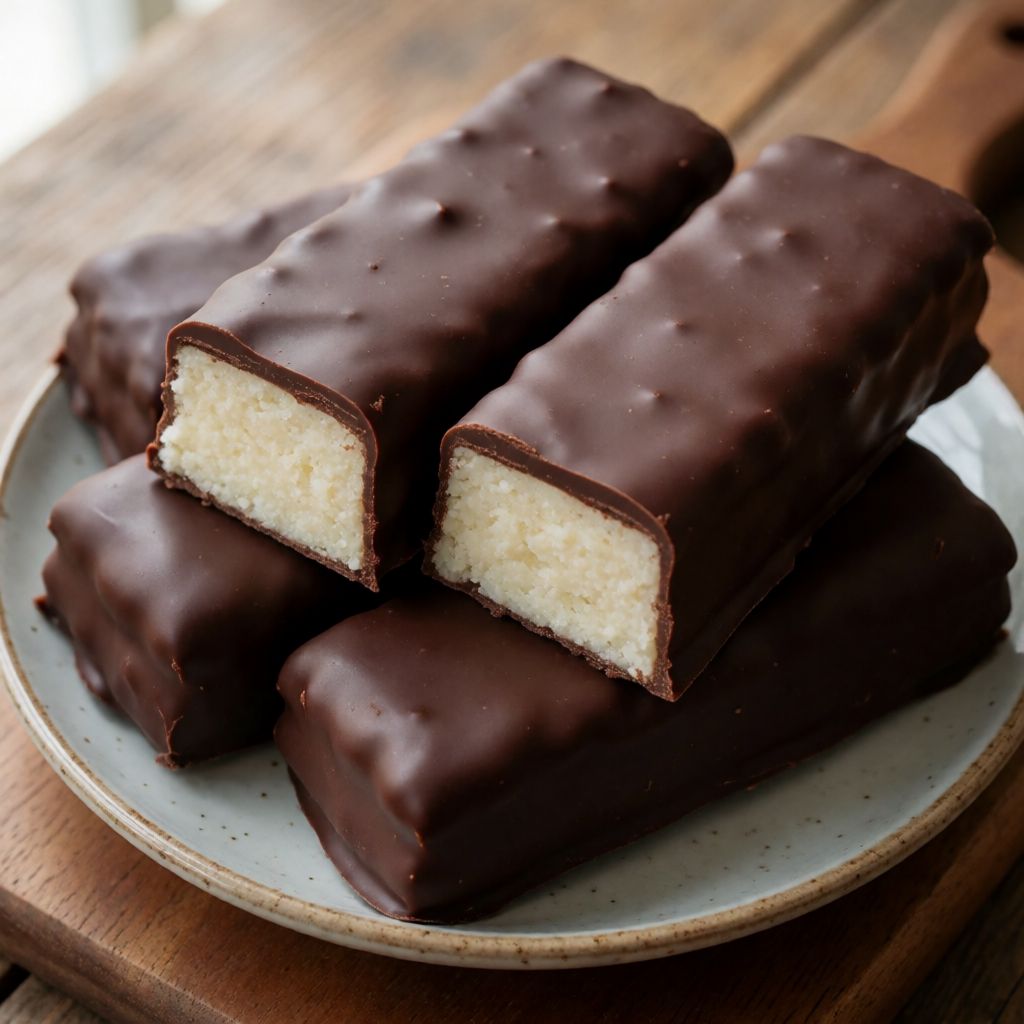
 AI photo
Coconut and Chocolate Bars
Coconut bars dipped in tempered dark chocolate, a simple no-bake treat chilled until firm.
Labels are worked out automatically from the ingredients and can be wrong. Check the packaging if it matters to you.
Ingredients
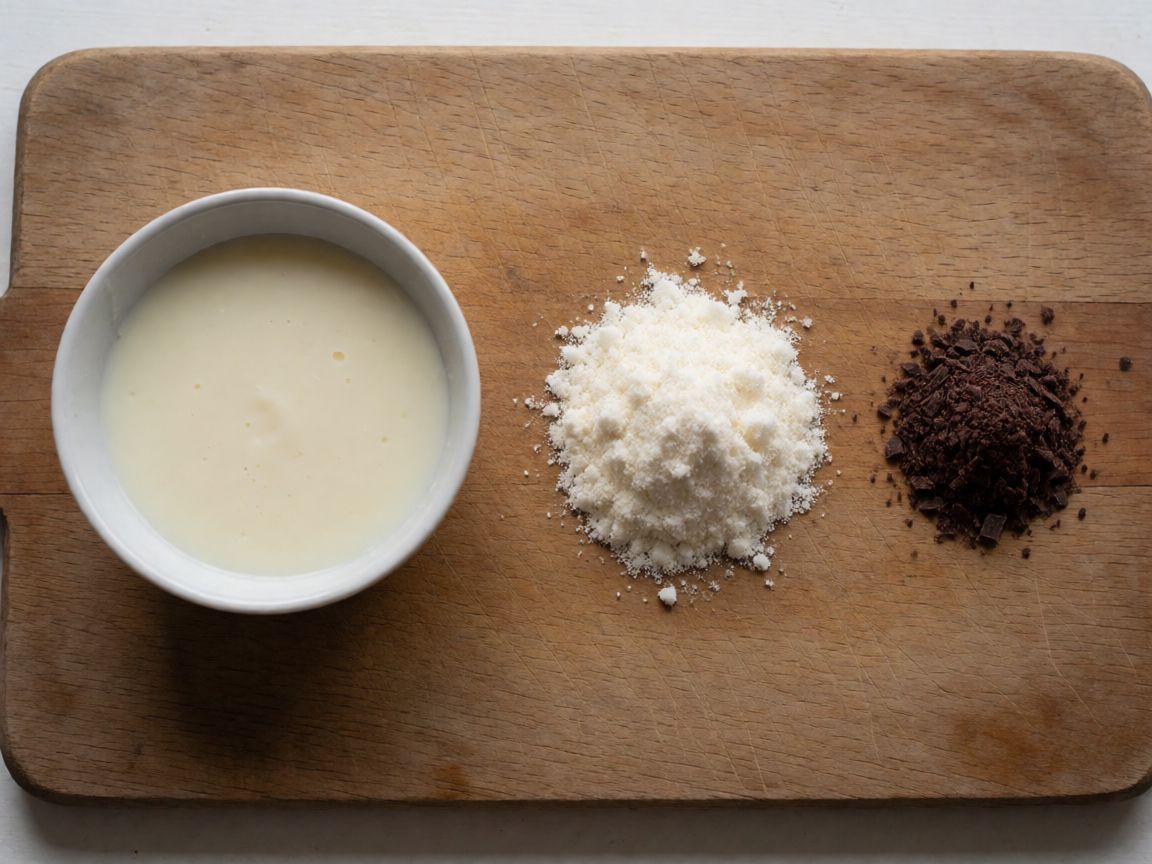
- 100 g Condensed milk
- 80 g Coconut flour
- 200 g Dark chocolate tempered


Steps
Mix the coconut flour with the condensed milk.
Shape the mixture into small coconut bars or round balls.
The coconut mixture will be a little sticky, but the bars should be firm enough to hold their shape.
If needed, add a little more condensed milk or coconut flour until the texture is just right.
Let the coconut bars rest in the fridge for 2 hours.
120 minCoat the bars with the tempered dark chocolate.
This is a home version of a chocolate bar you've eaten a hundred times off a shop shelf — coconut paste wrapped in chocolate, no oven, no hob, no cooking at all. Three ingredients, twenty minutes of hands-on work, and then the fridge does the rest. That simplicity is exactly why it's easy to get wrong: there's nowhere for a mistake to hide.
What decides whether it works is the ratio between the coconut and the condensed milk, and whether you give the paste its two hours before you touch it with chocolate. Too much coconut and the paste won't hold together — it crumbles like wet sand. Too much condensed milk and it stays a sticky mess that slumps instead of standing up as a bar. You're looking for a dough that holds a shape when you pinch it and doesn't spring back wet onto your fingers. That's the cue, not a stopwatch.
The second thing that decides it is the chocolate. "Tempered" isn't decoration talk — it's the difference between a bar that snaps and shines, and one that goes dull and streaky in a day. Some say melted chocolate is melted chocolate, any way you warm it is fine for coating. No — because cocoa butter can set into several different crystal structures, and only one of them gives you snap, shine and a shelf life longer than an afternoon. Skip the tempering step and you'll still eat the bar, but it'll look like it's been left in a warm car.
Five servings here means small bars or balls, maybe one generous one each, not a Bounty-sized slab. This isn't a recipe you stretch — it's one you make in a batch and portion by eye.
Condensed milk is doing more work than it looks like. It's milk that's already been cooked down with sugar until most of the water is gone and the sugar concentration is high enough that nothing in the tin can really go off or ferment — that's the whole reason it was invented, in the 1850s, as a way to ship milk before refrigeration existed. Because it's already been cooked, you don't need to cook it again here. The proteins are already set, the sugar already dissolved into syrup. That's why this recipe has zero cook time: the condensed milk is carrying pre-done chemistry into your bowl. If you ever run out, the criterion for a substitute is simple — a thick, very sweet, low-water binder. Dulce de leche loosened with a spoon of cream will do it; evaporated milk won't, because it hasn't got the sugar load to bind anything.
Coconut flour is the word to be careful with. There are two different products hiding under that name in a UK shop. One is finely milled, defatted coconut meal sold for gluten-free baking — it's thirsty, it'll drink up the condensed milk and leave you with a chalky, dry paste no matter how much liquid you add. The other is plain desiccated coconut, the stuff in the baking aisle next to currants, which still carries its natural fat and behaves like the inside of an actual Bounty bar. You want the second one. If the bag just says "coconut flour" with no other clue, check the fat content on the label — under 10g per 100g, it's the defatted kind, and you'll need less of it than the recipe says, added slowly, watching the dough rather than the scale.
The two hours in the fridge isn't there for flavour to "develop" — nothing's developing, there's no cooking, no fermentation, nothing chemical happening at all. It's there because the fat in the coconut and the sugar syrup from the condensed milk are soft at room temperature and need to firm up before you can pick the bars up, dunk them in chocolate, and set them down again without them sagging out of shape in your hand. If your kitchen runs warm — a flat with the heating on, say, rather than a cold Sunday-roast kitchen with the oven going and the window cracked — give it longer, not less. The bend test works here too: a chilled bar should hold a straight edge; if it droops when you lift one end, it's not ready.
Tempering, in a flat with no marble slab and no thermometer most people own, is still doable — you just do it by cue instead of by number. Melt the chocolate gently over a bowl sitting on a pan of hot, not boiling, water, so it never gets hotter than you can comfortably rest a finger in. Then stir in a few squares of chocolate you haven't melted at all — still in its original temper — and keep stirring until they disappear. Those un-melted pieces carry the correct crystal structure and seed the whole batch into it, the way a little yeast starter wakes up a bigger dough. It's a workaround, not cheating; professional kitchens do the fancy marble version because they're doing kilos at a time, you're doing a few hundred grams on a Tuesday evening.
For the chocolate itself, the only real rule is percentage of cocoa solids high enough that the bar isn't just sweetened fat — dark chocolate above about 60% gives you a shell that actually tastes of chocolate against the sweetness of the filling inside. Below that, you're coating a sweet thing with another sweet thing, and the contrast that makes the bar interesting disappears.