
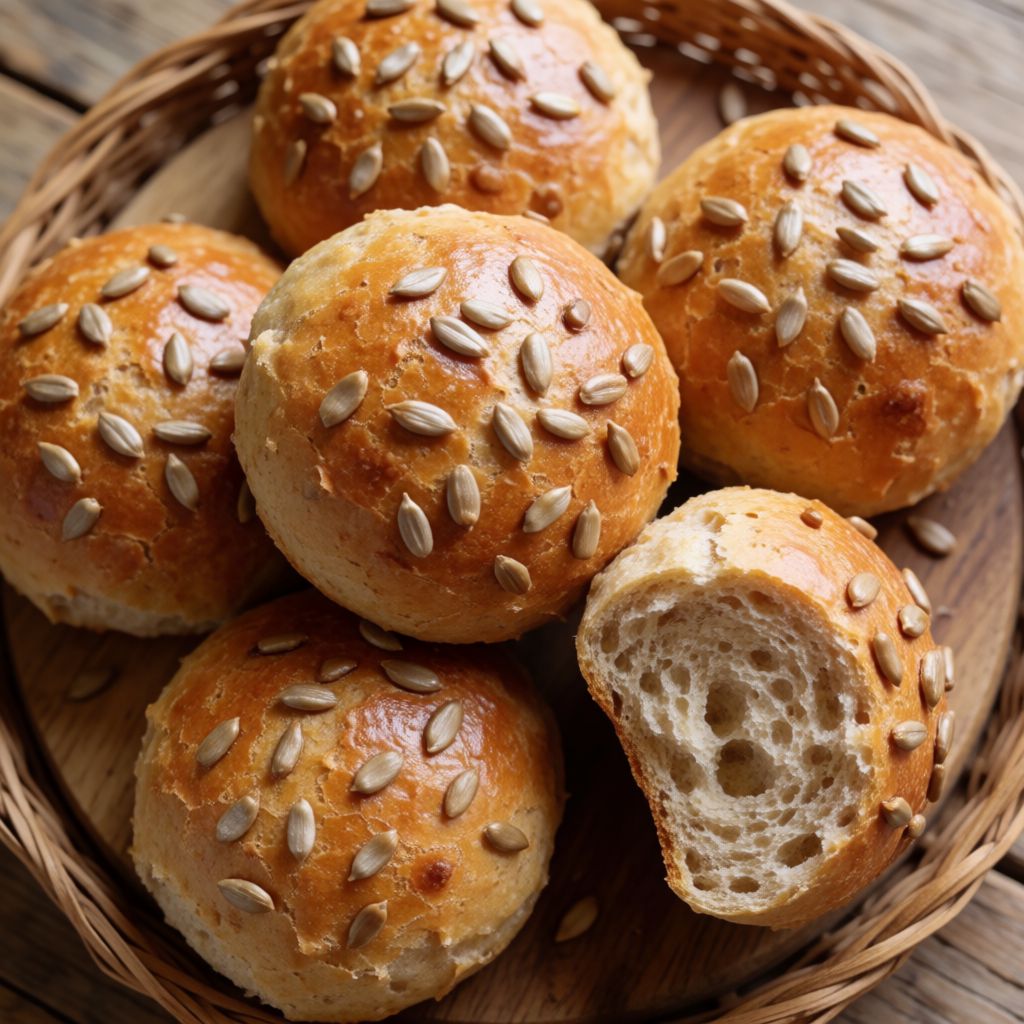
 AI photo
Danish Seeded Buns
Soft Danish-style buns topped with sunflower, poppy and sesame seeds.
Labels are worked out automatically from the ingredients and can be wrong. Check the packaging if it matters to you.
Ingredients
- 500 ml Water
- 10 g Yeast
- 510 g Plain Flour
- 100 g Wholemeal Flour
- 1 tsp Salt
- 200 ml Sunflower Seeds
- 2 tbsp Poppy Seeds
- 2 tbsp Sesame Seeds
- 1 pcs Egg beaten, for brushing









Steps
Pour the water into a bowl and dissolve the yeast in it. Add the wholemeal and plain flour and knead the dough with a mixer for 10-12 minutes. Add the salt and mix.
12 minTransfer the dough to a clean bowl, cover with a lid and refrigerate overnight, or for 10-18 hours.
Remove the dough from the bowl. Fold the dough once on a lightly floured surface and cut into equal pieces.
Dip the base of each bun in sunflower seeds, press down, then place on a baking tray lined with parchment paper. Brush with egg and sprinkle with poppy and sesame seeds.
Bake in a preheated fan oven at 180°C for 10 minutes.
10 minIncrease the temperature to 230°C and bake for a further 8-10 minutes, until the buns turn golden.
9 min
What was changed
The second bake's temperature was adjusted as noted in to match standard UK oven settings.
This is a wet-dough bread roll, the kind Danish and German bakeries turn out by the hundred: a crust from seeds and a quick hot blast, a crumb that's open and a bit chewy because the dough itself is almost batter-loose. The ratio here is roughly five parts water to six parts flour by weight — that's not a typo, that's the whole trick. A dough this wet cannot be kneaded by hand without turning your worktop into a crime scene, which is exactly why the recipe hands the job to a mixer. Don't fight that. Don't add flour to make it 'manageable' either — every extra spoon of flour tightens the crumb and pushes you back toward a dinner roll, not toward what you're making here.
The second thing that decides the result is the night in the fridge. Some say dough must rise somewhere warm, on top of the boiler, under a tea towel, because that's what grandmothers did. No — because grandmothers didn't have fridges, and heat is only the fast way to get fermentation, not the only way. Cold is the slow way, and slow is what builds flavour: ten to eighteen hours at fridge temperature lets the yeast work gently, the gluten relax on its own schedule, and the dough firm up just enough that cold, slightly stiff dough is actually easier to shape than warm, lively dough that fights you back. The long wait is not dead time. It is doing the work that kneading alone can't finish.
Water and yeast first, on their own, before flour touches them — that's not ceremony, that's physics. Yeast needs to be surrounded by water to wake up evenly; drop it straight into a flour pile and you get patchy activity, some clumps of yeast doing nothing while others go off too fast. Any plain baker's yeast works; if you only have fast-action sachets meant to go straight into flour, that's fine too, the overnight cold rest evens out any difference anyway.
Two flours do two separate jobs. The plain white flour is there for gluten — it's what gives this wet dough the strength to hold gas bubbles and stretch instead of just slumping. The wholemeal is there for flavour and a bit of texture, the bran giving the crumb some bite and a nuttier taste under all those seeds. You can swap the wholemeal portion for rye or spelt and get a similar effect — slightly different flavour, same job of roughing up an otherwise very smooth dough. Don't try to go all-wholemeal, though; too much bran cuts the gluten strands short and you'll get a dense, crumbly roll instead of an open one.
Salt goes in after the long knead, not before, and that's deliberate, not an accident of the method. Salt tightens gluten and slows yeast right down — add it at the start and you're kneading against resistance the whole ten minutes, fighting a dough that's stiffer than it needs to be while the structure is still forming. Let the gluten develop first, then salt it in at the end, and you get the same final strength with far less effort from the mixer.
The seeds are doing two different things depending on where they sit. Sunflower seeds go on the base, pressed in before baking — they're there to stop the roll sticking to the tray as much as for crunch, a trick from a time when parchment paper wasn't something every kitchen had. Poppy and sesame go on top, after the egg wash, because egg is glue: without it they'd mostly fall off, into the oven, onto the floor, into your slippers. The egg wash itself also browns — it's not just adhesive, it's colour. If you're out of poppy or sesame, any small dry seed with no oily, perfumed smell of its own will do the same two jobs: hold on top, toast, look the part. Caraway works. Nigella works. Don't use anything pre-salted or anything wet like chia that'll just slide off.
On folding the dough once before cutting it: this isn't shaping for looks, it's about not throwing away the overnight work. A long cold ferment builds a structure of gas bubbles through the dough: knock it all out by heavy-handed kneading at this stage and you've undone the night in the fridge for nothing. One gentle fold redistributes the dough just enough to divide it evenly, without flattening the bubbles that give you that open crumb.
A UK fan oven runs a little differently from a conventional one, and this recipe already assumes fan — so if yours only does conventional, you're generally looking at adding somewhere around 15-20°C to both stages, and watching the buns rather than the clock, because every oven lies a little about its own number.