
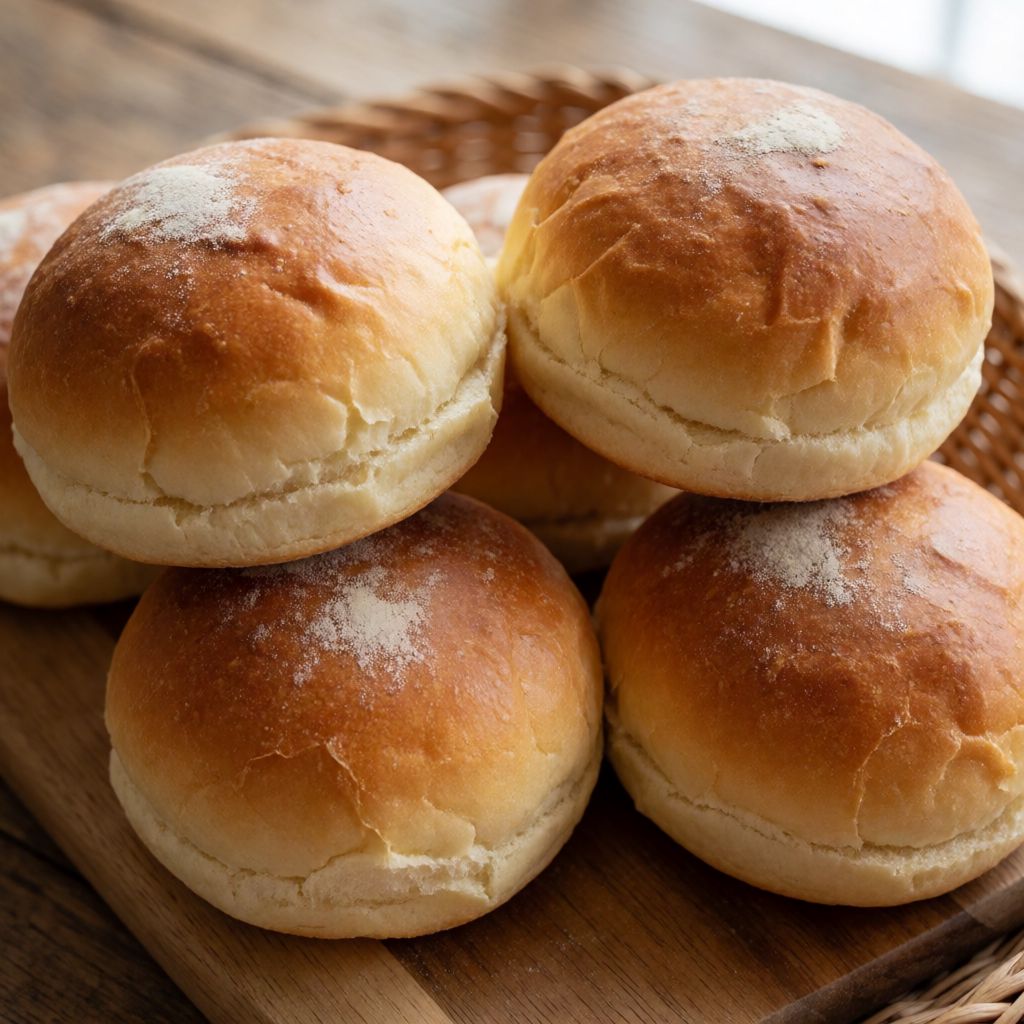
 AI photo
Gluten-Free Hamburger Buns
Soft, homemade gluten-free buns perfect for burgers, with a sesame-seed topping.
Labels are worked out automatically from the ingredients and can be wrong. Check the packaging if it matters to you.
Ingredients
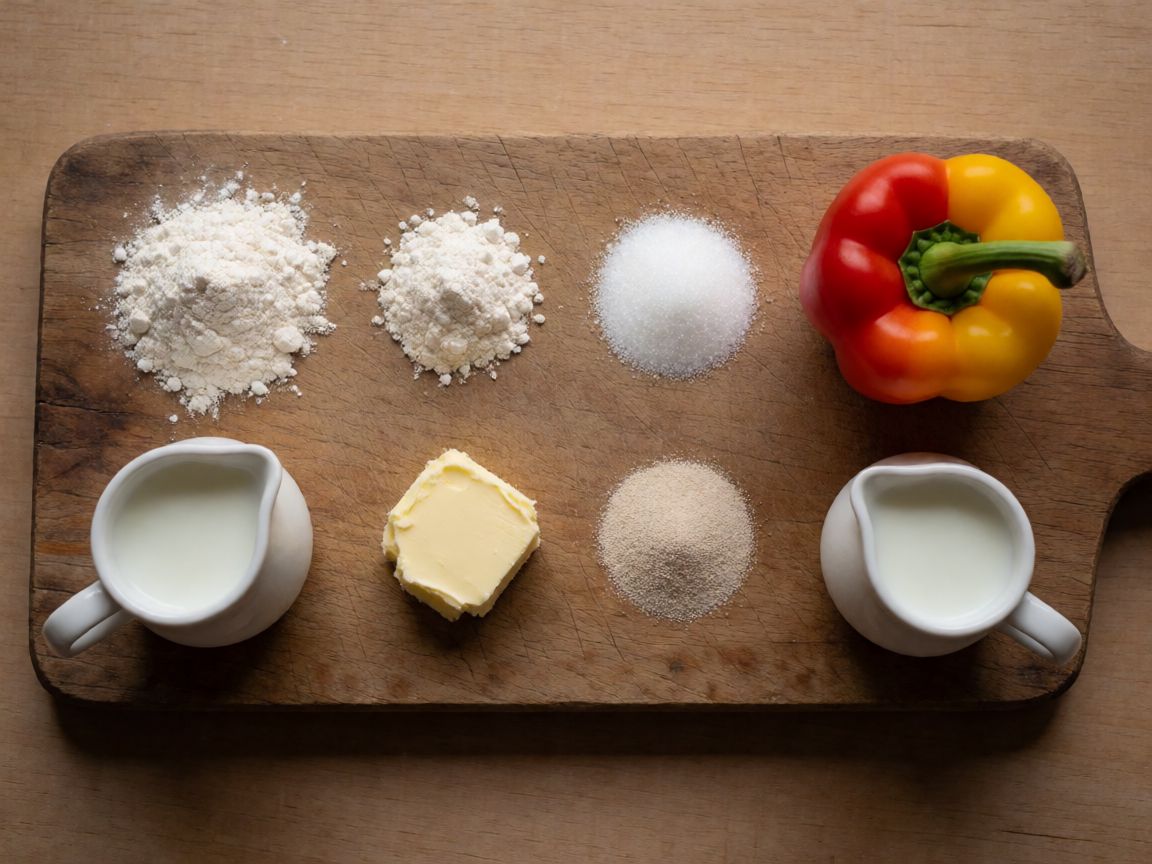
- 200 g Schär Mix It gluten-free flour blend
- 100 g gluten-free flour blend
- 5 g sugar
- 5 g salt
- 40 g butter softened
- 5 g yeast
- 125 g milk
- 125 g water
- 1 pcs bell pepper
- 25 ml milk for brushing the buns
- sesame seeds to taste
- rice flour for dusting








Steps
Gently warm the milk and combine it with the water.
Add the sugar and crumbled yeast, and mix well until dissolved.
In a separate bowl, sift both flour blends together to avoid lumps.
Gradually pour the liquid into the flour in a thin stream, stirring constantly.
Once the liquid is fully absorbed, add the softened butter and mix until smooth.
Add the salt and mix vigorously.
Cover the bowl with cling film and leave the dough to rise for at least 4 hours.
240 minDust the work surface with rice flour, transfer the dough and knead briefly by hand.
Divide the dough into 4 pieces.
Flatten each piece of dough with your fingers, fold the edges to the centre, turn over and roll between your palms.
Place the buns on a baking tray lined with baking paper and leave to rest for 1 hour at room temperature.
60 minIn a separate bowl, mix the egg yolk with the milk, then brush the buns and sprinkle with sesame seeds.
Bake in a fan oven preheated to 180°C for 20–25 minutes.
23 minLet the buns cool completely before slicing.
What was changed
The amounts of sugar sugar, salt salt, yeast yeast and milk milk for brushing have been rounded to neat kitchen measures.
Gluten-free dough has no gluten — that's the whole plot. Wheat dough holds gas because gliadin and glutenin link into a stretchy net when you knead and the yeast's carbon dioxide gets trapped inside it. Take wheat out and you take out the net. So gluten-free bread baking isn't "bread baking minus one ingredient" — it's a different craft wearing bread's clothes, where starches, gums and a slacker, wetter dough do the holding instead. That's why this dough gets stirred with a spoon until smooth rather than kneaded into elasticity — there's no elasticity to develop. Kneading here would just be exercise.
The two flour blends matter more than their modest weight suggests. Shop-bought GF blends are usually a mix of rice flour, starches (potato, tapioca, maize) and often xanthan or guar gum already folded in — that gum is your stand-in gluten, the thing that gives the dough enough body to trap bubbles instead of collapsing flat. Mixing two blends rather than using one gives you a broader spread of starches, which tends to mean a crumb that's closer to bread and further from cake. If you only have one blend, fine — just know the result may be a touch denser or a touch more crumbly, and that's the blend talking, not your technique failing.
The egg yolk and milk wash earns its place by two different jobs at once — the yolk's fat and protein brown and set under heat, giving you colour; the milk thins it so it brushes on as a film rather than sitting in blobs. Brush right to the edge and skip the top of the dome if you're going lightly on sesame, otherwise the seeds roll off the glaze into the oven's floor. Some say an egg wash "seals in moisture" — no, it does the opposite job, browning the crust; moisture is kept by the fat already in the dough and by not overbaking.
Sugar here is yeast food first, sweetness a distant second — 5 g won't make these taste like a bun from a bakery that's gone soft on sugar, it just gives the yeast something fast to work on in a dough where it's already working against a weaker structure. Salt (5 g) does the opposite job to sugar: it slows the yeast down and firms the dough's taste, stopping a four-hour rise from tasting thin and flat. Butter (40 g), softened and worked in after the liquid, coats the starches and gives the crumb some softness and keeping quality — in a gluten-free bake, fat does some of the tenderising work that gluten's absence would otherwise leave to chance. If you're dairy-free, any flavourless solid fat — a neutral margarine — will do the same coating job, though butter's slight milkiness suits a bun meant to sit under a burger and tea's milk alike.
Milk and water together, warmed gently rather than hot, matter for one simple reason: yeast is alive, and above roughly hand-hot you start killing it rather than feeding it. "Warm" means blood temperature on your wrist, not steaming — if you can't comfortably hold your finger in it, let it cool. Milk over all-water gives a softer crumb and a touch more colour in the crust from its sugars; if you're out of milk, water alone works, the bun will just be a little plainer and a little paler.
The bell pepper in your ingredient list doesn't appear anywhere in the thirteen steps that follow — no instruction tells you when it's chopped, cooked, or added. I'd leave it out rather than guess where it belongs; if it's meant as a side for the burger this bun will eventually hold, that's a different dish, not a dough ingredient.
Your oven is a domestic fan oven, not a bakery deck oven with steam injection, so 180°C fan and 20–25 minutes is a reasonable ask of it — just know a fan oven's heat comes from moving air, which dries a crust faster than a still oven would, so don't walk away at the 20-minute mark without a look. Doneness here isn't the clock, it's the sound: tap the base of a bun and listen for a hollow knock, not a dull thud — the thud means the centre's still wet dough, not crumb. And cooling completely before slicing isn't fussiness — a gluten-free crumb is still setting its structure as it cools, since starch (not gluten) is what's holding the architecture, and a hot slice through unset starch collapses into something closer to porridge than bread.