
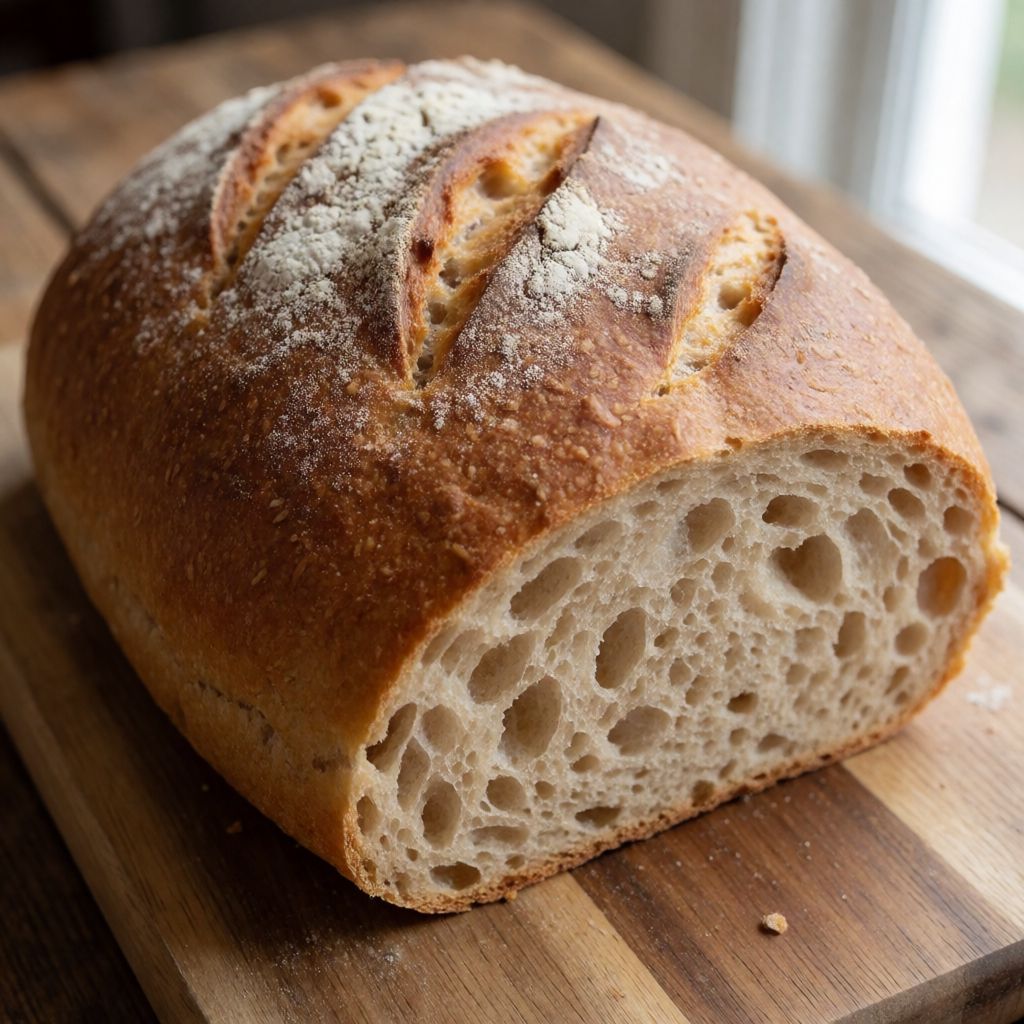
 AI photo
Spelt Bread
A rustic Italian-style loaf made with wheat and spelt flour, risen slowly with a long-fermented starter for deep flavour.
Labels are worked out automatically from the ingredients and can be wrong. Check the packaging if it matters to you.
Ingredients
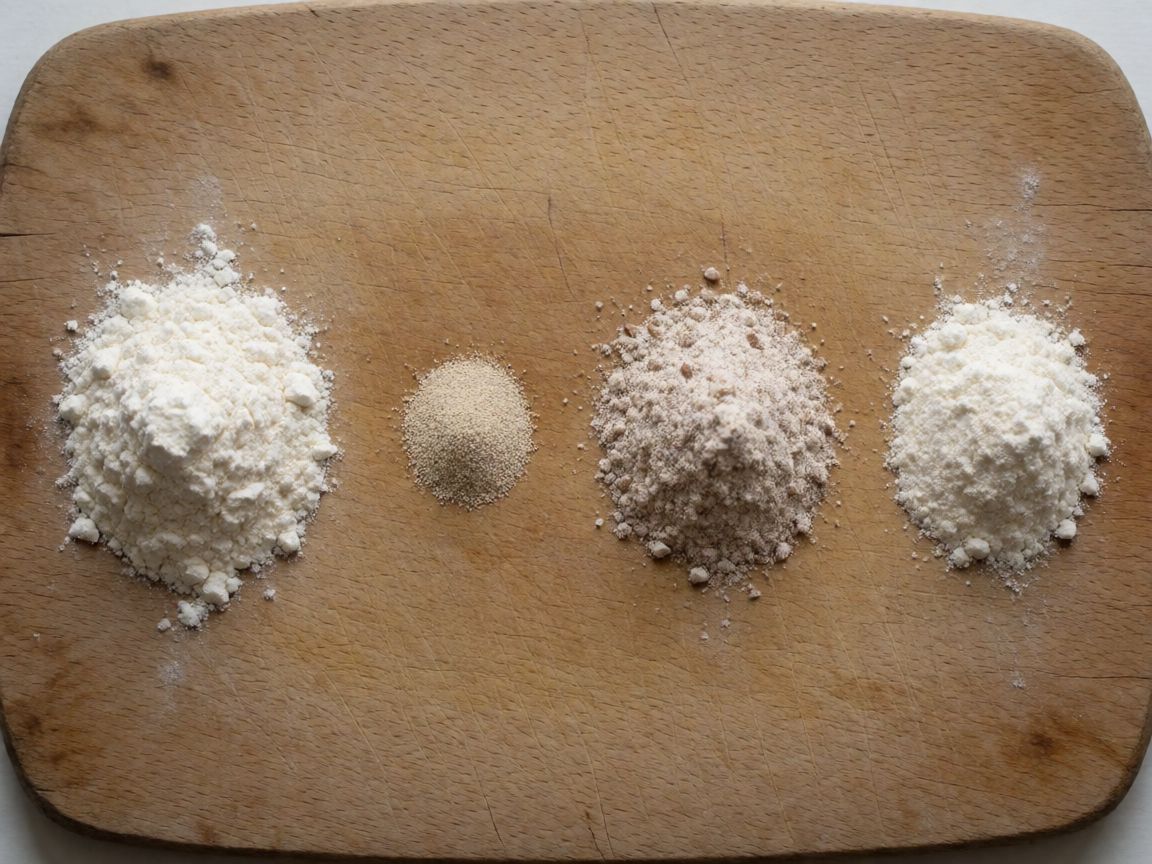
- 330 g Strong White Bread Flour
- 4 g Fresh Yeast
- 280 ml Water
- 90 g Spelt Flour
- 5 g Salt
- Durum Flour for dusting
- Olive Oil for greasing







Steps
Make the starter: tip the strong white bread flour into the mixer bowl, crumble in the fresh yeast, and mix on medium speed while gradually pouring in the water. Mix for 5 minutes.
5 minTransfer the rough dough to a bowl, cover with cling film and leave to rise for 18 hours at room temperature.
1080 minTip the strong white bread flour and spelt flour into the mixer bowl, add 120 g of the starter, breaking it into pieces. Add 1 g fresh yeast, gradually pour in the water, then add the salt. Knead until you have a firm dough.
Transfer the dough to a bowl greased with olive oil, cover with a tea towel or cling film and leave to rise for 3 hours at room temperature.
180 minDivide the dough into 5 pieces of 240 g each. Shape each piece by hand, folding the edges underneath to seal the seam.
Transfer the loaves to a container dusted with durum flour, dust more flour on top, and cover with a lid or cling film. Leave to rise for 1 hour.
60 minUsing a knife, make two cuts in a cross shape on each loaf. Bake at 210°C for 25–30 minutes with fan assistance, or at 220°C for 30–35 minutes without fan.
30 min
This bread is really two breads stacked on top of each other: a slow one and a fast one. The first, the starter, takes eighteen hours and almost no yeast; the second, the dough you actually shape, takes three hours after that. What decides whether the loaf has any character at all is whether you respect that first eighteen hours — not the kneading, not the oven.
In the starter, nothing visible happens for most of the time. You are not watching for bubbles like a pot on a boil; you are waiting while the yeast works at the speed it works, and while enzymes already sitting in the flour quietly turn starch into sugar the yeast can feed on. That slowness is what gives the crumb a depth no packet of yeast can shortcut. Some say more yeast means a better rise — no, because more yeast working fast just means fast gas, with none of that early, mellow sourness building underneath.
The second stage is where structure comes back. Spelt is a soft flour, light on the gluten that holds a shape, so it rides on the back of the strong white flour, which carries the skeleton. You knead this dough until it pushes back against your hand, not until a clock says so — a slack, sticky dough here gives you a flat loaf no matter how well the starter behaved the night before.
Strong white bread flour is doing a structural job, not a flavour job — it is chosen for the amount of protein in it, which becomes the gluten web that traps gas. If your bag does not say "strong" or "bread flour," look at the protein figure on the pack instead: anything around 12–13% will behave the same way. Plain flour will give you a denser, less springy loaf, because there simply is not enough protein there to build the web.
Spelt flour is the opposite kind of ingredient — it is there for taste and a slightly looser, nuttier crumb, and it brings weaker gluten with it. That is exactly why it only appears at the second mixing, propped up by the strong flour, rather than carrying any of the structure on its own. If spelt is not on your shelf, wholemeal wheat flour at the same weight gives you a comparable nutty note, though the crumb will come out a touch tighter.
Fresh yeast is measured here almost as a formality by the second stage — 1 gram — because the starter has already built its own yeast population over those eighteen hours. This is the same economy a bakery runs: keep a living pre-ferment going and you barely need to buy or add fresh yeast each time you bake. If you only have dried yeast, use roughly half the weight given for fresh; instant yeast, about a third.
The water does not need to be warm. Warm water is a myth left over from the days of weak yeast that needed coaxing — push it here and you speed up the eighteen-hour stage into something closer to five, and you lose exactly the slow development the recipe is built around. Ordinary cold tap water is the right tool.
Durum flour for dusting earns its place because it is coarser and drinks up far less moisture than ordinary flour — dust a shaped loaf with it and it sits on the surface as a dry grit instead of gumming into a paste, which is what stops your dough sticking to the dusted container without smothering the crust. Fine semolina does the same job if durum flour is not something your shop stocks.
Olive oil for greasing is there purely to stop a skin forming and to let the risen dough slide out without tearing — you are not tasting it, so any oil with no strong smell of its own will do the same work; a light vegetable oil is no loss here. Your own oven, fan or not, is the last variable: a fan oven moves hot air past the crust faster, so it needs less heat to set the same crust in the same time — hence the ten-degree gap between the two settings given. Either way, forget counting minutes as the real test: the crust should go the colour of strong tea without the milk, and the loaf should sound hollow, almost empty, when you knock on its base.