
 AI photo
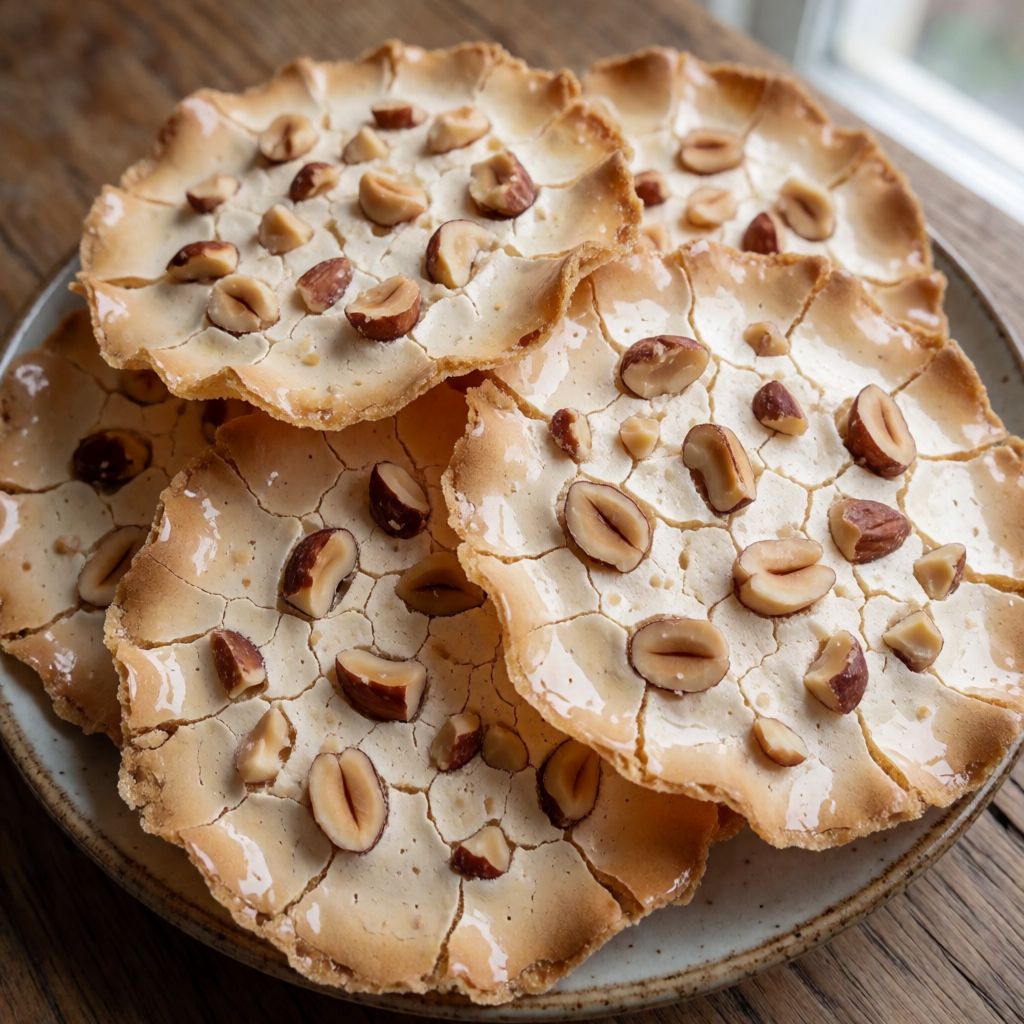
Crispy Hazelnut Meringue Wafers
Thin, crisp hazelnut meringue layers filled with a silky mocha buttercream.
Labels are worked out automatically from the ingredients and can be wrong. Check the packaging if it matters to you.
Ingredients
- 4 pcs Egg whites
- 150 g Caster sugar
- 1 pinch Salt
- 125 g Hazelnuts finely ground to a flour
- 30 g Hazelnuts flaked
- 20 g Butter melted, for greasing
- 75 g Milk chocolate
- 100 g Butter softened
- 100 g Icing sugar
- 3 pcs Egg yolks
- 4 tbsp Strong coffee
- 20 g Icing sugar for dusting






Steps
Whisk the egg whites until stiff, forming firm peaks.
Add the sugar and salt and whisk for a long time, until the mixture is glossy and holds its shape.
Gently fold in the ground hazelnuts with a spatula, taking care not to knock the air out of the meringue.
Line two baking trays with baking parchment and brush with the melted butter.
Spread the meringue mixture over the trays and smooth into rectangles about 25 x 30 cm.
Sprinkle one rectangle with the flaked hazelnuts.
Bake in a fan oven preheated to 150°C for 25 minutes, until golden.
Leave the meringue layers to cool completely on the trays.
Melt the milk chocolate in a bowl set over a pan of gently simmering water.
Transfer the chocolate to a bowl with the butter and beat until light and fluffy.
Add the icing sugar and beat until smooth and creamy.
Beat in the egg yolks one at a time, making sure the cream is fully smooth before adding the next.
Stir in the strong coffee, adding half first, then the rest to taste.
Cut the meringue sheets in half to make four layers.
Layer the sheets with the mocha buttercream, finishing with the best-looking hazelnut-topped meringue layer on top.
Chill the cake in the fridge for at least 2 hours, or until serving, or in the freezer for 1 hour.
Dust with icing sugar and cut into portions.
This is a dacquoise, really — a meringue stiffened with ground nuts instead of staying pure air and sugar, baked flat, then stacked with a buttercream that's gone off-script with raw egg yolks and coffee. What decides whether it works isn't the baking so much as what happens before and after it: how much air you beat into those whites, and how patient you are with the cooling and the chilling.
The nuts are the whole trick. A plain meringue, whisked to stiff peaks and baked, dries out into something brittle and hollow — all crunch, no body. Fold in 125g of finely ground hazelnuts and you weigh the foam down just enough that it holds together as a wafer instead of a shell. It bakes to something between a biscuit and a meringue: crisp on the surface, a little tender underneath, able to carry the weight of a buttercream without shattering into shards the moment you cut it.
Some say meringue has to be snow-white to be "done" — no, because that's the mark of an oven that never got hot enough to develop any flavour. At 150°C fan, the surface should go the colour of light honey, not stay bone pale. Pale means underbaked and chewy at the centre; too dark and the sugars have scorched and gone bitter. Golden, with the edges just beginning to pull from the parchment, is the window you want.
On an ordinary hob and oven setup — no kazan, no professional deck oven — the two trays you've got are doing a job a patisserie would split across machines: even heat, even thickness. Spread the meringue to a genuine 25x30cm rectangle and no thicker in the middle than at the edges, because an oven on a domestic fan setting runs slightly uneven air currents, and a lump in the centre will still be wet when the edges are already crisp. Smoothing it flat isn't fussiness — it's insurance against a cake with one soggy layer and three crackers.
Egg whites: four of them, whisked alone first to stiff peaks before any sugar goes near them. Sugar added too early coats the proteins and stops them unfolding and linking up properly — you get a foam that never gets past soft and floppy. Added once the whites already hold a peak, the sugar dissolves into the structure and gives you that wet-look glossy meringue instead of a dry, crumbly one. Caster sugar specifically, because its fine grain dissolves fast in the whisking; icing sugar collapses the foam with its added starch, and granulated just won't fully dissolve in the time you've got.
Hazelnuts, ground to a flour, are doing structural work, not just flavour — this is what separates a dacquoise from a Pavlova. If you don't have hazelnuts, the criterion is: a nut that grinds dry and oily enough to bind, not wet and gummy. Almonds work on that basis, walnuts too though they'll push the flavour more bitter. Skip pre-ground "nut flour" from a packet if you can — it's often cut with starch, and starch here means a drier, less rich wafer.
The flaked hazelnuts on one sheet aren't decoration for its own sake — they mark which layer goes on top, and they give the one surface of the cake that stays genuinely crunchy after the chilling, because everything buried inside the buttercream will soften with time no matter how crisp it was out of the oven.
Butter and sugar beaten first, melted chocolate folded through next, then icing sugar, then yolks one at a time — that order exists because fat holds air and emulsifies liquid far better once it's already been worked soft and light. Skip the beating and add everything at once and the cocoa solids and cold yolk liquid will seize the butter into a grainy curdle you can't fix by beating harder afterwards. The coffee goes in last and in two stages — half, then taste — because strong coffee varies: a dark Italian roast and an instant granule mix made "strong" aren't the same strength at all, and this is a cream you want to taste as you go, not follow blind.
Chilling for two hours isn't a formality, it's the step that actually makes the cake. Straight after assembly the buttercream is soft and the meringue layers slide against each other — cut it then and it collapses. Given time in the fridge, the butter firms, the layers bond, and some of the meringue's crispness transfers into a change of texture rather than being lost — this is patience doing the work no oven or whisk can do for you. The freezer shortcut at one hour is real, but check by touch, not clock: the sides should feel firm, not rock-hard, or your knife will tear through instead of slicing clean.