
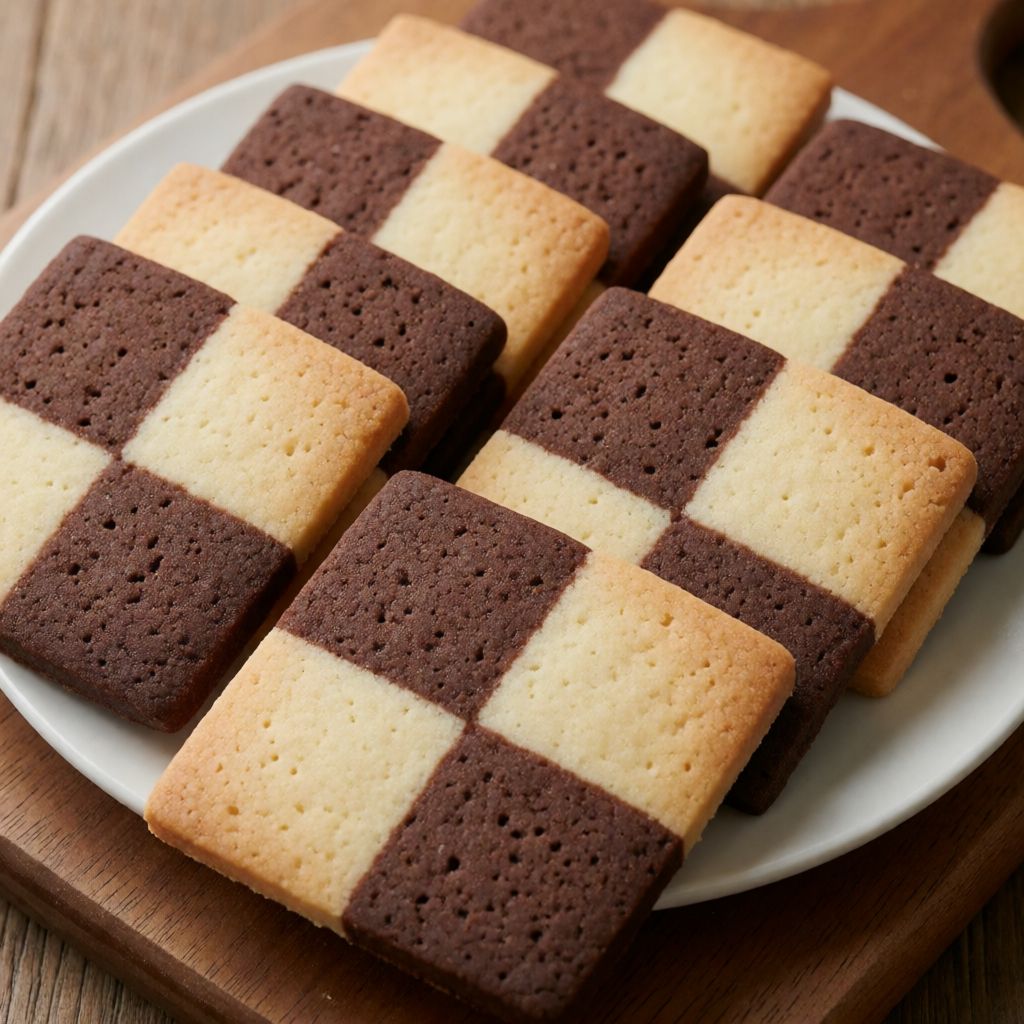
 AI photo
Chequerboard Biscuits
A two-colour biscuit dough, plain and cocoa, sliced and baked to make a chequerboard pattern.
Labels are worked out automatically from the ingredients and can be wrong. Check the packaging if it matters to you.
Ingredients
Plain dough
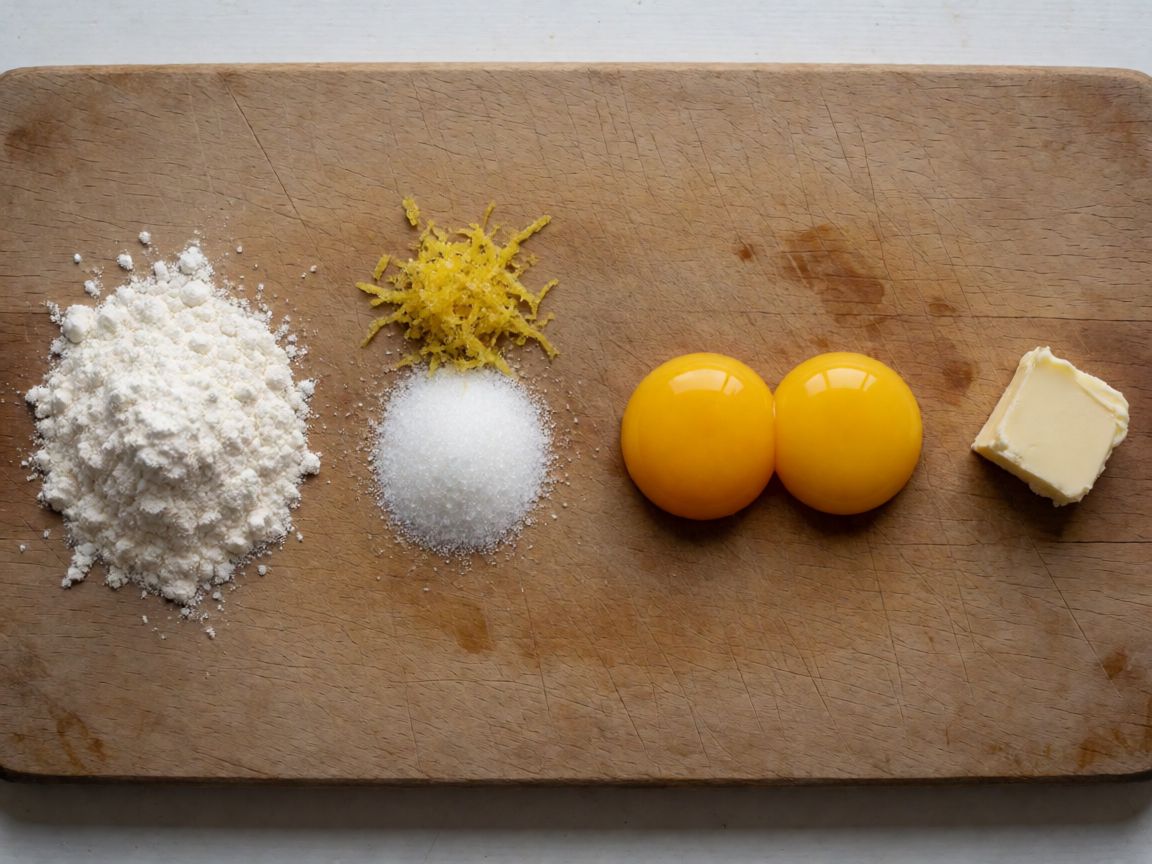
- 150 g Plain flour
- 75 g Caster sugar
- 1 pcs Lemon zest
- 1 pinch Salt
- 2 pcs Egg yolk
- 90 g Butter






Cocoa dough
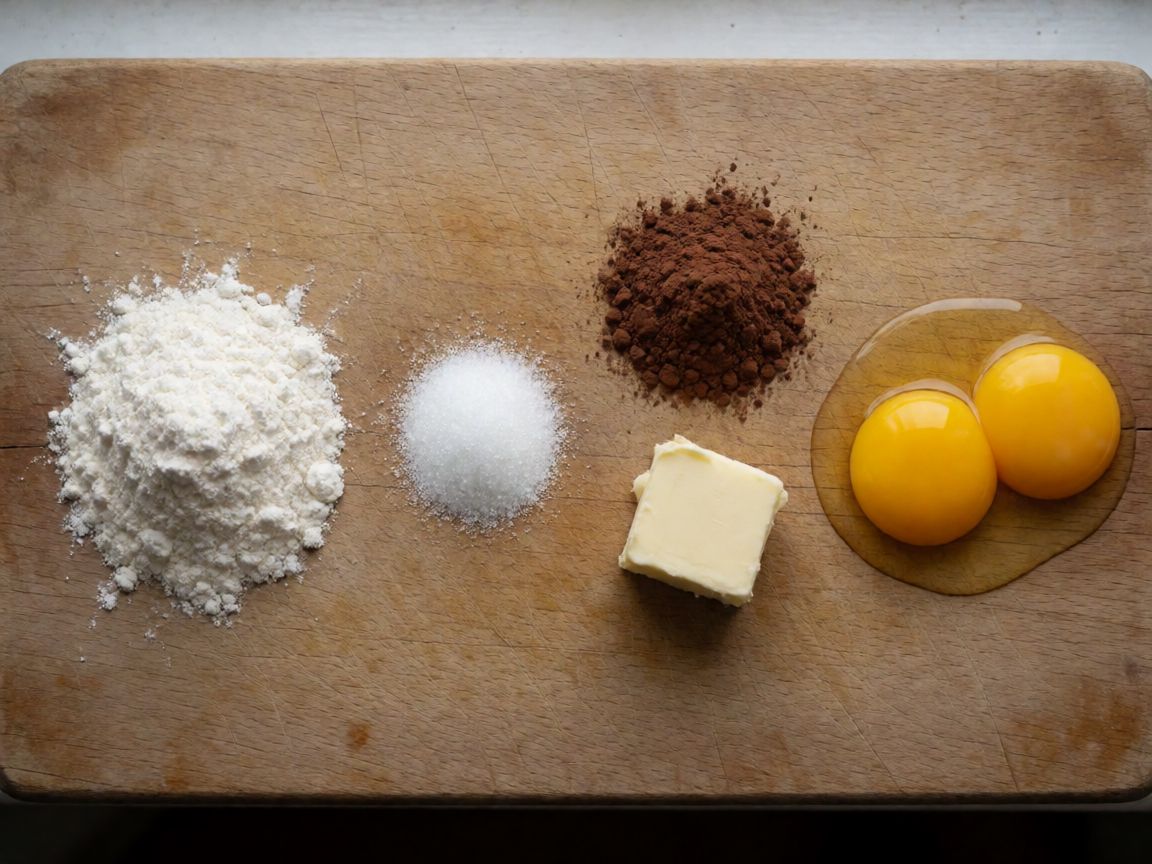
- 130 g Plain flour
- 75 g Caster sugar
- 20 g Cocoa powder
- 1 pinch Salt
- 90 g Butter
- 2 pcs Egg yolk

Steps
Pile the flour on the work surface, make a well, add the sugar, lemon zest, salt and egg yolks, and work together with your fingers.
Add the butter and knead into a smooth ball of dough.
Wrap the plain dough in cling film and chill in the fridge.
40 minMake the cocoa dough: mix the flour, sugar, salt, egg yolks, cocoa powder and butter.
Knead the cocoa dough into a smooth ball, wrap in cling film and chill.
40 minRoll out the plain dough with a rolling pin to a thickness of 1/2 cm.
Roll out the cocoa dough to the same shape and thickness.
Brush the cocoa sheet with water and carefully lay the plain sheet on top. Trim the edges.
Cut into strips 1 cm thick.
Alternating the colours, stack the strips together, brushing water between them.
Cut the stacked strips into biscuits 1/2 cm thick.
Place the biscuits on a baking tray lined with parchment and bake in a preheated fan oven at 150°C.
19 min
This is pastecca di pasta frolla dressed up as a game — two shortbread doughs, one plain, one cocoa, stacked and recut so the slice shows a chessboard. The biscuit itself is nothing exotic: it's frolla, the same fat-sugar-flour-yolk logic behind every French sablé and Italian crostata base. What makes it a chequerboard rather than two separate batches of biscuits is geometry, not flavour — you're building a loaf of alternating stripes, then slicing across the grain so each biscuit shows the pattern end-on, like a Battenberg cake but dry and crumbly instead of sponge and jam.
What decides whether it works is temperature control at two points, not the baking. First, the dough has to be cold and firm when you roll and cut it — frolla is mostly butter, and butter at room temperature smears instead of cutting clean. A blurred edge between the two colours isn't a cosmetic fault, it's a sign the fat has started to melt into the flour of the neighbouring strip, and once that happens the pattern softens into a muddy gradient instead of a sharp grid. Forty minutes in the fridge per dough is the stated minimum, not a target — if your kitchen is warm, or the butter was soft going in, give it longer. The dough is ready when a cut edge stays sharp and doesn't slump.
Flour here is just structure — plain flour, no need for anything stronger, because you want crumb, not chew. If you only have self-raising in the cupboard, don't use it: any lift will blur the sharp stacked edges you worked for, turning crisp stripes into puffy ones. Butter is the actual engine of the texture — it has to be cold going into the dough but worked quickly so it coats the flour rather than melting into it. "Some say you must use salted butter for flavour" — no, because the separate pinch of salt in each dough already does that job precisely, and salted butter varies brand to brand, so you lose control over how salty the final biscuit actually is. Use plain butter, salt it yourself.
The two sugars and two yolks are doing the same job on both sides: sugar for sweetness and a little tenderising (it gets in the way of gluten forming, which is exactly what you want in a biscuit that should snap, not stretch), yolks for richness and a bit of binding without the toughness that a whole egg's white would bring. Keep the quantities matched between the two doughs — if one side has noticeably more sugar or fat than the other, it will bake at a different rate and brown unevenly, and your chessboard will look like it's half-cooked even when it isn't.
Lemon zest in the plain dough and cocoa powder in the dark dough aren't there to make two separate flavoured biscuits — they're there to make two visually distinct doughs that still taste like a matched pair when eaten together, citrus brightness against bitter cocoa. If you've no lemon, a few drops of vanilla or even nothing at all is fine; the zest is seasoning, not structure. Cocoa powder, though, is doing double duty: flavour and colour. Don't swap it for melted chocolate — chocolate brings fat and sugar that will throw off the balance between the two doughs and soften the contrast you need for a clean grid.
On rolling: in a British kitchen you likely don't have a pasta machine or a marble slab, and you don't need either. A rolling pin and a cool worktop — or the back of a baking tray if your counter runs warm — will do. The 1/2 cm thickness matters more than it looks: too thin and the sheets tear when you brush water and stack; too thick and your final chequerboard squares look chunky rather than crisp, and the inside won't have set evenly by the time the outside colours. If your kitchen runs hot — summer, no air conditioning, which is most of the UK most of the time anyway — roll between two sheets of cling film so the dough doesn't warm from your hands before it even reaches the fridge for its second chill between steps.
A note on the stacking itself: this is the one place patience is the actual ingredient, not the dough or the oven. Rushing the brushing-and-stacking step is where the pattern falls apart — if you stack while impatient and the strips aren't lined up square, you'll cut through the pile at an angle and get a smear instead of a checkerboard. Take the extra minute to square the strips against the edge of your worktop before you cut the final slices. No oven setting fixes a wonky stack.