
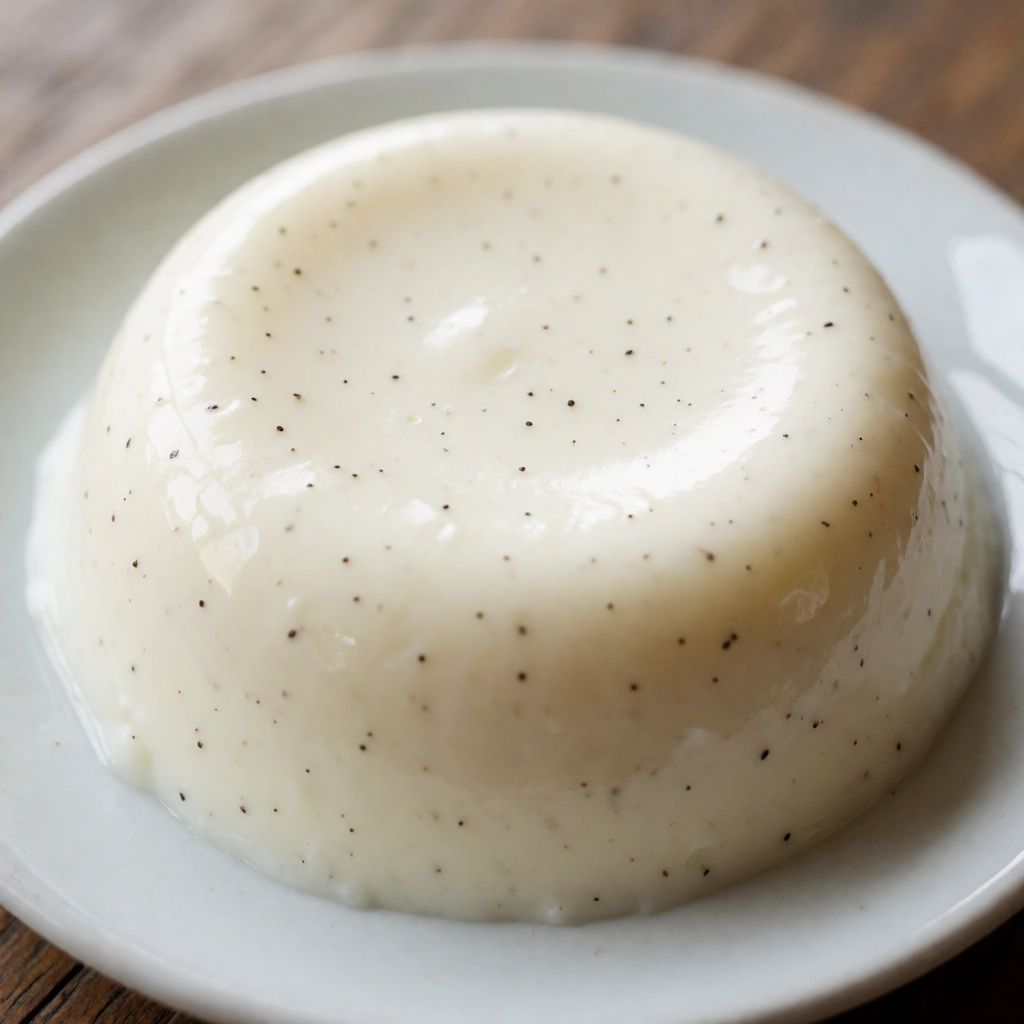
 AI photo
Panna Cotta: a Silky, Easy Gluten-Free Dessert
A silky, gluten-free dessert that comes together quickly and simply.
Labels are worked out automatically from the ingredients and can be wrong. Check the packaging if it matters to you.
Ingredients
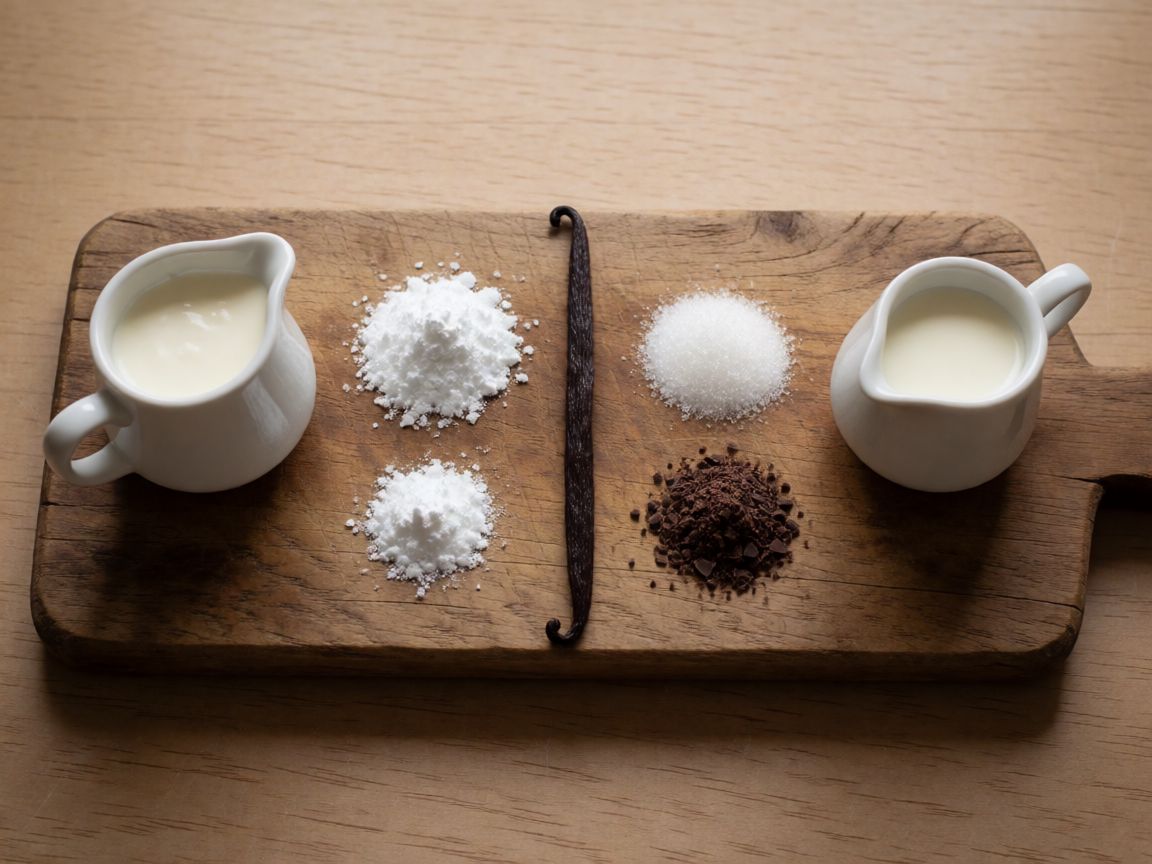
- 500 ml Double cream or whipping cream
- 100 g Icing sugar
- 8 g Gelatine
- 1 pcs Vanilla pod
- 100 ml Double cream or whipping cream
- 30 g Caster sugar
- 90 g Dark chocolate



Steps
Soak the gelatine in a bowl of cold water for 10 minutes to soften.
10 minIn a saucepan, mix the icing sugar with 500 ml of double cream.
Cut the vanilla pod lengthways with a knife, scrape out the seeds and add them to the cream.
Heat over medium heat until the mixture just comes to a gentle simmer, then remove from the heat.
Add the softened gelatine, squeezing out the excess water, and stir thoroughly for two minutes.
Pour the mixture into moulds of about 100 ml, filling almost to the top.
Place the moulds in the fridge for at least 2 hours, until the panna cotta sets.
120 minIn a saucepan, mix 100 ml of double cream with 30 g of caster sugar and heat over medium heat until it just comes to the boil.
Remove from the heat and add the dark chocolate, broken into pieces.
Whisk until the chocolate has completely melted and the mixture is smooth.
Pour the ganache into a bowl and let it cool completely at room temperature.
Dip each mould for a few seconds into a bowl of hot water, taking care not to let water get inside.
Turn the mould out onto a plate and carefully remove the panna cotta.
Transfer the chocolate ganache to a piping bag and pipe it over the dessert, finishing with a scattering of sprinkles.
Panna cotta means "cooked cream" and that name is almost a joke, because the only thing you cook here is the sugar dissolving. What sets this dessert isn't heat, it's gelatine — a cream barely warmed to carry flavour, then stiffened cold into something that holds its shape on a plate but still trembles when you tap it. Six little domes of vanilla cream, glossy with a dark chocolate ganache piped over the top.
What decides whether it works is restraint at two points. First, the cream must never boil hard — just the gentle shiver before a simmer, enough to dissolve sugar and release the vanilla's oils, no more. Boil it properly and you start cooking the proteins in the cream, which can make the set grainy instead of silky. Second, the gelatine goes in off the heat, stirred in gently — gelatine loses its setting power above about 60°C, so if you dump it into cream that's still roaring hot, you've paid for gelatine that does nothing, and your panna cotta stays a sad milkshake in a mould.
Some say panna cotta is a "cooked" dessert and needs real cooking time. No — it needs patience, not fire. The two hours in the fridge are the actual recipe; everything before that is five minutes of warming cream. Rush the chilling and you get a mould that collapses the moment you turn it out, because the gelatine network hasn't finished knitting itself through the fat and water.
Double cream is the backbone here, and the reason you can't swap in single cream or anything described as "light": this dessert is set by gelatine working inside a fat structure, and a cream with too little fat gives gelatine too little to hold onto — you get something closer to jelly with a milk flavour, not the dense, coating silkiness panna cotta is after. If double cream isn't to hand, whipping cream is the honest substitute because it sits close enough in fat content; anything thinner is a different dessert wearing this one's name.
Gelatine is doing all the structural work, and it needs water first for a reason people skip: soaking lets the sheets or granules absorb liquid slowly and evenly, so when they hit the warm cream they dissolve clean instead of clumping into little rubbery knots that never fully melt. Squeeze out the excess water before adding it — that water is extra liquid you didn't account for in your ratio, and too much dilutes the set.
Icing sugar rather than caster sugar in the cream base is a texture choice, not a flavour one: it's ground fine enough to dissolve into cold-ish cream without leaving grit, which caster sugar can do in a pinch if you give it a minute longer and stir properly. Vanilla pod is the honest flavour here — split and scrape it rather than just dropping the whole pod in, because the seeds are where the actual aromatic oil sits, and the empty pod afterwards is nearly useless (rinse and dry it, and it'll still scent a jar of sugar for weeks, which is the one bit of "waste not" worth keeping). A vanilla pod is genuinely expensive in a UK shop; good vanilla extract — the real kind, not vanilla flavouring — will do the job if you're not trying to impress anyone with flecks of seed in the cream.
The ganache is a separate small operation and simpler than it looks: cream heated to just boiling, then poured over broken chocolate off the heat, so the chocolate melts from residual heat rather than being cooked directly — direct heat on chocolate is how you get a grainy, seized mess, because chocolate's cocoa solids and fat can separate under high, uneven heat. Dark chocolate with a decent cocoa percentage (70% or so) gives you a ganache that sets firm enough to pipe and holds a shape on top of the panna cotta rather than sliding off; too low a percentage and the extra sugar and milk fat in the chocolate fight the cream's own sugar, leaving you with ganache that never quite firms up.
Letting the ganache cool fully at room temperature before piping isn't optional fussiness — pipe it warm and it runs straight off the dome instead of sitting in a ribbon on top. If your kitchen runs warm, a short spell in the fridge once it's cooled to room temperature will get it to piping consistency faster, just don't chill it cold or it'll set too stiff to push through a nozzle.
For the moulds: dariole moulds or small ramekins both work, anything around 100ml with reasonably straight or slightly tapered sides so the dessert can slide out rather than being trapped by a lip. No piping bag, no problem — a freezer bag with the corner snipped off does the same job, and nobody at the table will know the difference.