
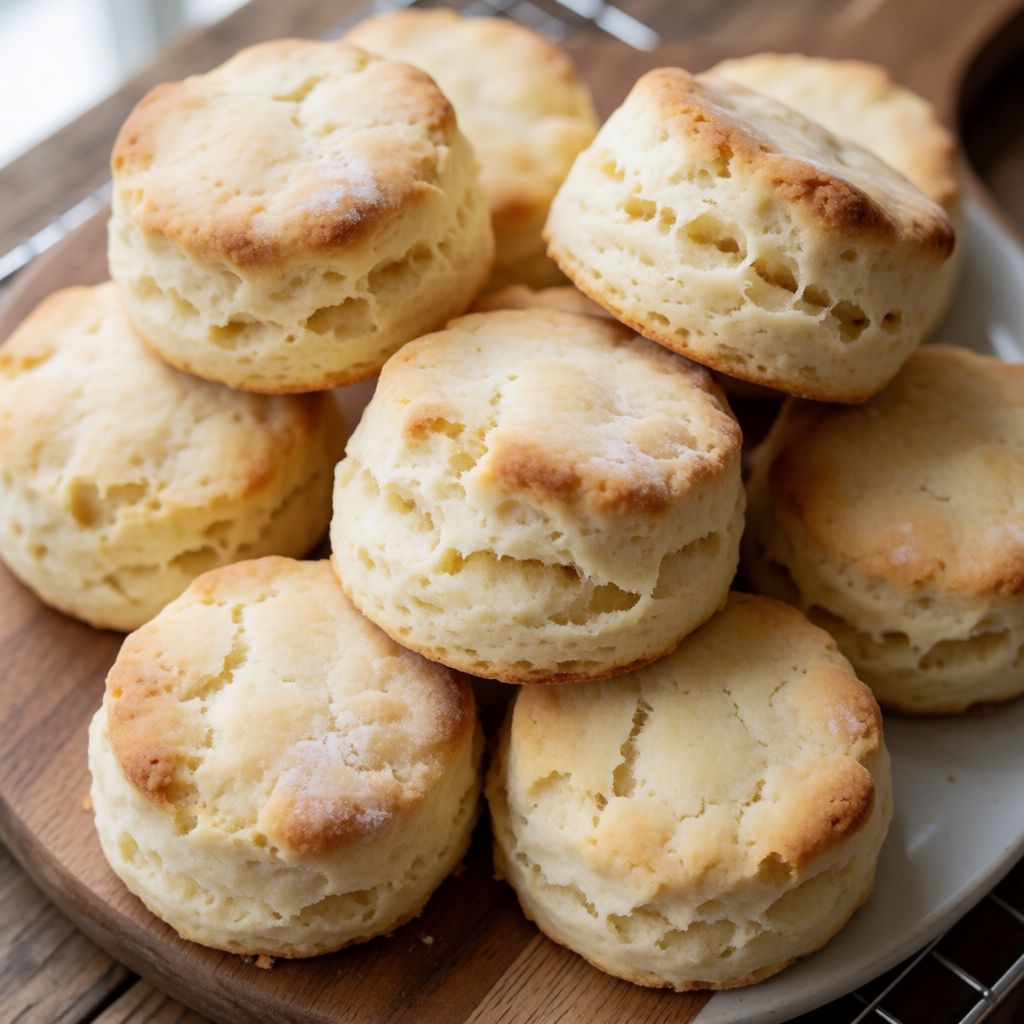
 AI photo
Scones
Light, buttery English scones with a soft crumb, perfect warm from the oven.
Labels are worked out automatically from the ingredients and can be wrong. Check the packaging if it matters to you.
Ingredients
- 180 g plain flour
- 30 g caster sugar
- 0.5 tsp salt
- 1 tsp baking powder
- 70 g butter cold
- 100 ml buttermilk
- 4 tbsp whipping cream
- 1 pcs egg beaten







Steps
Put all the dry ingredients in a bowl and mix well. Rub the cold butter into the mixture — some visible flecks of butter should remain.
Quickly stir the buttermilk into the dough and bring it together with the whipping cream. The dough should be only just combined, not kneaded.
Turn the dough out onto a lightly floured surface and flatten it into a rectangle about 1.5 cm high. Cut the dough in half and stack one half on top of the other, then flatten again to 1.5 cm.
Cut out the scones with a round 6 cm cutter. Place them on a baking tray lined with baking paper and brush with the beaten egg.
Bake in a preheated fan oven at 180°C for 15–17 minutes.
16 minLet the scones cool for a few minutes on a wire rack and serve while still freshly baked and warm.
What was changed
The oven temperature was rounded to to match this market's oven display step.
A scone is not bread pretending to be posh. There's no yeast in it, no slow rise, no waiting for anything alive to do its work. The lift comes from two things meeting at the last possible moment: baking powder and the acid in buttermilk, fizzing together the instant they touch and again the instant they hit oven heat. And the crumb — that short, flaky crumb everyone wants and few get — comes from butter staying solid, in visible flecks, right up until the oven melts it. Those flecks are little walls of fat inside the dough; when they melt, they leave pockets, and the water in the butter and buttermilk turns to steam and pushes those pockets open. That's the whole engine. Everything else is just getting out of its way.
So what decides whether it works is mostly what you don't do. Don't warm the butter, don't knead the dough. Rubbing butter "until it disappears" is the wrong target — you want streaks, not a uniform paste, because a paste means the fat has already started coating the flour evenly and there's no fat left to melt into pockets later. And once the buttermilk and cream go in, the less you touch the dough the better: every extra stroke develops gluten, and gluten is what makes bread chewy and elastic — exactly the texture scones are not supposed to have. The fold-and-stack in step 3 isn't decoration either; it's a tiny, one-time lamination, the same idea as puff pastry done in a single clumsy fold, there to build a few visible layers without the ten-minute kneed-and-rest cycle a real laminated dough needs.
On the flour: plain, not strong bread flour, and that's deliberate — strong flour has more gluten-forming protein, and gluten is the enemy here, not the friend. If all you have is self-raising, use it, but drop the baking powder in the recipe to roughly a quarter teaspoon, because self-raising already carries its own.
Caster sugar dissolves into the wet ingredients fast, so you don't get little hard grains sitting unmelted in the baked crumb — granulated will mostly do the same job, it's just slower to disappear. Don't skip the salt because the dough reads as a sweet bake; salt is what stops a scone tasting flat and sugary rather than rich. Baking powder is the one ingredient here with a shelf life that actually matters: old baking powder loses its fizz, and a flat scone is very often just a tin of baking powder that should have been thrown out a year ago. If you're unsure, spoon a little into hot water — it should bubble hard, immediately. If it sulks, replace it.
The butter has to be cold, properly cold, fridge-cold or even frozen and grated if your kitchen is warm, because the whole lift mechanism depends on it staying solid until oven heat hits it. Any solid fat that holds its shape at room temperature and brings no water of its own will do the same job — lard works, a firm block margarine works at a pinch — but butter also brings flavour the others don't, so there's a real cost to substituting.
Buttermilk's job is the acid: it reacts with baking powder, and it tenderises the dough the way acid always does to proteins. No buttermilk in the fridge is not a crisis — stir a squeeze of lemon juice or a splash of vinegar into ordinary milk and leave it five minutes to thicken slightly, and it will behave close enough. The whipping cream isn't there for lift at all; it's there to add fat and richness without adding much more liquid, because more liquid means more mixing to bring the dough together, and more mixing means more gluten, and we're back to the thing we're trying to avoid.
The egg wash is browning, not polish — a thin coat of beaten egg hits the heat and goes through the same browning reaction as a roast or a crust on bread, which is why an unwashed scone comes out pale and a washed one comes out that deep gold. Brush it thin; a thick, pooled coat glues itself to the tray edge of the cutter line and can stop the scone rising cleanly there, same problem as the twisted cutter. If you want a paler result, egg white alone or a brush of milk gives colour without the same depth. A fan oven at 180°C moves hot air around the tray constantly, which is why it's set lower than a conventional oven doing the same job — but every domestic oven lies a little about its own thermostat, so treat the first tray you ever bake as the one that tells you the truth about yours, and adjust the next by what you saw, not just by the dial. And once they're out, give them those few minutes on a rack before anyone touches one — straight off the tray the crumb is still setting, cut too soon and the middle is gummy rather than short; wait too long and you've lost the only thing that makes a scone worth making in the first place, which is eating it warm.