
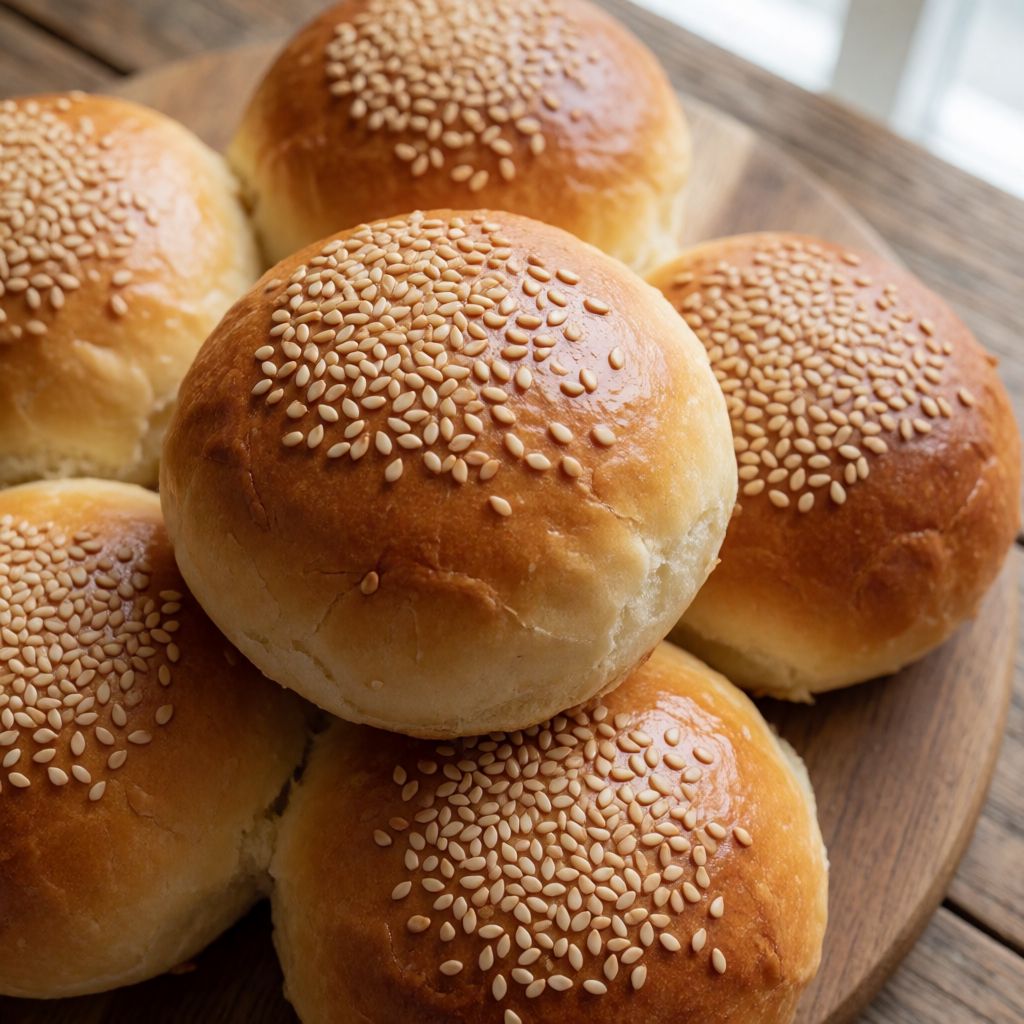
 AI photo
Sesame Buns
Soft overnight-proofed sesame buns made with buttermilk, baked until golden and crisp.
Labels are worked out automatically from the ingredients and can be wrong. Check the packaging if it matters to you.
Ingredients
- 10 g Yeast
- 250 ml Water at room temperature
- 250 ml Buttermilk at room temperature
- 50 g Sesame Seeds
- 100 g Wholemeal Flour
- 500 g Plain Flour
- 1 tsp Salt
- 1 pcs Egg beaten
- 2 tbsp Sesame Seeds








Steps
Mix the yeast with the water and buttermilk, add the wholemeal flour, sesame seeds and plain flour, then knead well, preferably in a stand mixer for 10-12 minutes on low speed, until the dough becomes soft and elastic.
12 minFinally add the salt, transfer the dough to a clean bowl, cover with a lid or plate and refrigerate overnight, or for 10-18 hours.
840 minRemove the dough from the bowl once it has risen in the fridge. Fold the dough once on a floured surface and cut into equal pieces.
Scatter a little sesame over a baking tray for each bun. Place the buns on a parchment-lined baking tray, brush with the beaten egg and sprinkle with more sesame.
Bake the buns in a preheated oven at 180°C with fan for 10 minutes.
10 minIncrease the temperature to 230°C and bake for a further 8-10 minutes, until the buns are golden, crisp and delicious.
9 min
What was changed
The second bake temperature was adjusted to the nearest 10°C oven step .
This is a pantry bun built on one decision: ferment cold and slow, bake hot and fast. Nothing about the shaping is clever, nothing about the bake is unusual — the whole character of the bun is decided the night before, in the fridge, while you're doing something else entirely.
What makes or breaks it is gluten development before the cold rest, not during. You knead for ten-odd minutes not to build heat (a mixer on low barely warms the dough) but to pull the flour's proteins into long, elastic strands — the windowpane test, where you can stretch a bit of dough thin enough to see light through without it tearing. Skip that and the fridge rise won't save you: a weak dough just slumps slowly instead of collapsing fast.
Some say you must knead by hand to get a proper crumb, that a machine makes bread dead. No — the yeast and the gluten don't know what shaped them. What they know is whether the protein chains got stretched enough to trap gas. A stand mixer on low for twelve minutes does that as well as two arms and twenty.
The double bake — gentler then fierce — exists because a bun needs two different things at two different moments: first, enough heat to make the trapped gas expand without setting the crust before it's done expanding (oven spring), then a blast hot enough to brown and crisp what's now a fixed shape. Do it the other way round and you get a hard shell over raw dough that can no longer rise.
The overnight fridge rest is the real engine here, and it's economics as much as technique: a home baker doesn't want to stand over proving dough on a Sunday morning before a roast goes in. Cold slows the yeast right down — it doesn't kill it, that's the myth to drop — so the dough ferments for ten to eighteen hours instead of one, and in that time enzymes break starches into sugars slowly, giving you more flavour than a fast rise ever could. You get to sleep; the dough does the work.
Yeast, 10g — if your sachet is 7g, as most supermarket ones are here, that's close enough; fresh yeast, use double. Water and buttermilk both at room temperature so the yeast isn't shocked awake then put straight in the fridge to sulk — give it a fair, warm start before the cold slows it down. Buttermilk brings acidity: that tang softens gluten slightly and gives the crumb a faint sourness, closer to what you'd get from a proper long ferment. No buttermilk in the house — stir a tablespoon of lemon juice or vinegar into ordinary milk and let it sit five minutes; it won't be identical but it does the same acidic job.
Wholemeal flour, only 100g against 500g plain, because bran is sharp at a microscopic level — it cuts through gluten strands as they form. Too much wholemeal and your dough can never build the stretch it needs; too little and you lose the nutty flavour that's the whole point of using it at all. If you only have strong white flour, use it all and accept a paler, blander bun — still good, just a different bun.
Salt goes in after the first long knead, not before. Early salt tightens gluten too fast and slows the yeast before it's had a chance to get moving — so you let the dough develop freely first, then add the salt to firm the structure up just before the long cold rest, where you want that tightness to hold.
Sesame scattered on the tray does two jobs at once: it keeps the base of the bun from sticking without greasing the tray, and it gives you a crunchy underside to match the seeded top. The egg wash on top isn't decoration for its own sake — egg proteins brown faster and deeper than dough alone, and the wash is the glue that keeps the top sesame from falling off when you pick the bun up. No egg to hand, a brush of milk will give you shine and some colour, just not the same depth.
On the double temperature: your domestic oven has no steam injection the way a bakery deck oven does, so you won't get that glassy, crackling crust from steam alone. The two-stage heat — 180°C fan to set the crumb, then up to 230°C to drive colour and crispness into the crust — is how you compensate at home. If you want to push it further, a roasting tray of hot water in the bottom of the oven for the first ten minutes will trap a bit of steam and give you a slightly thinner, crisper shell. And don't rush the fold and shape at the end — a dough that's had its twelve hours deserves a calm hand, not a scramble to get buns on the tray before the oven's hot.