
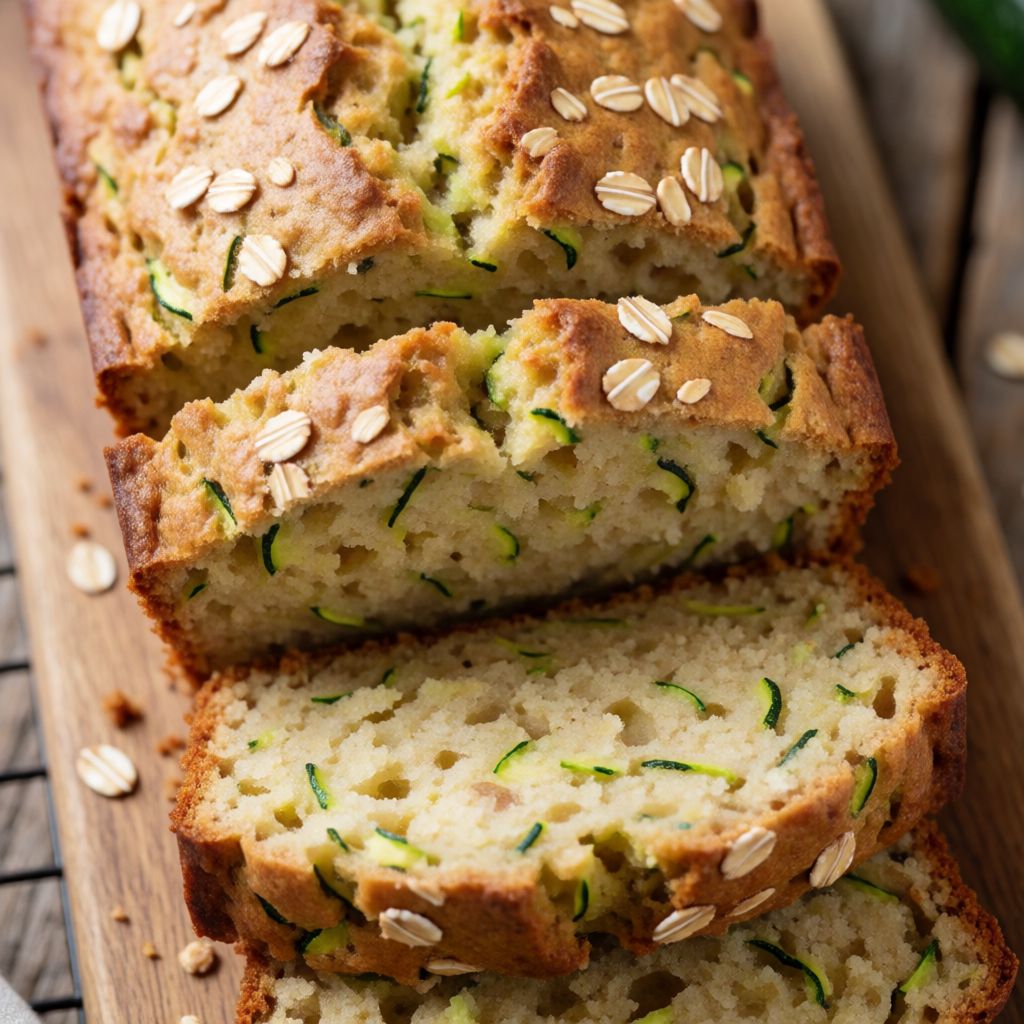
 AI photo
Courgette Bread
A rustic yeasted loaf made with grated courgette, oats and wholemeal flour.
Labels are worked out automatically from the ingredients and can be wrong. Check the packaging if it matters to you.
Ingredients
- 350 ml Water at room temperature
- 10 g Yeast
- 150 g Courgette coarsely grated
- 1 tbsp Honey
- 1 tsp Salt
- 100 g Oats coarse rolled oats
- 400 g Plain Flour
- 50 g Wholemeal Flour








Steps
Dissolve the yeast in a bowl of water at room temperature.
Add the coarsely grated courgette.
Add the honey, salt, oats, plain flour and wholemeal flour.
Mix until the dough just comes together.
Cover the dough and leave to rise on the kitchen counter for 45 minutes.
45 minTransfer the dough to a greased 27×21cm loaf tin and leave to rise for a further 2 hours on the kitchen counter, or until the dough has risen enough.
120 minBake the bread for 20 minutes in a preheated fan oven at 175°C.
20 minThen increase the temperature to 225°C and bake for a further 15-20 minutes, until the bread is fully baked through.
20 minRemove the bread from the oven and place it on a wire rack to cool.
This is a savoury, yeasted loaf, not a sweet courgette cake dressed up in a tin. The courgette goes in raw and grated, unsqueezed, next to oats and a mix of white and wholemeal flour, and the whole thing rises twice before it ever sees the oven. Think of it as what you do with a glut of courgettes from a garden or an allotment in August, when you've already made soup and ratatouille and there are still three more sitting on the counter looking at you.
What decides whether this works is water, and heat, in that order. The courgette is roughly ninety-five percent water, and this recipe knows it — the 350ml you add up front is measured on the assumption that the vegetable will let go of its own moisture slowly, as it sits in the dough and then in the heat. That makes this a wet, loose dough by bread standards, closer to a thick batter than something you'd knead on a worktop. The second thing is the oven doing two different jobs at two different temperatures: first setting the inside so it isn't a wet paste around a cooked shell, then turning up the heat to actually build a crust and finish the loaf through.
Water first: room temperature, not warm, not cold. Yeast works by feeding on sugar and multiplying, and that's a chemical process with a comfortable range — somewhere a hand feels neither cold nor warm to the touch. Go hot enough to feel it on your skin and you start killing the yeast outright, which is why 'warm the water a bit for the yeast' is advice that's killed more loaves than it's helped. Room temperature just means: let the yeast wake up at its own pace, no rush.
The yeast itself — 10g is a small, specific dose for this amount of flour, and any plain baker's yeast does the job, fresh crumbled or the dried fast-acting kind from a sachet. What matters is that it meets sugar (the honey) before it meets salt directly, because salt pulls water out of yeast cells by osmosis and slows them down right at the point they need to be waking up. That's why salt goes in with everything else, mixed through, not dumped straight onto the dissolving yeast.
The courgette: coarse-grated, so it keeps some bite and doesn't collapse into mush, and it brings moisture and a faint green vegetable flavour rather than sweetness — that's what separates this from a courgette cake, where sugar and spice are doing the talking. If you've no courgette, any high-water vegetable that grates fine and doesn't bring its own strong sugar will do something similar; carrot works but adds sweetness and a different crumb colour, so don't expect an identical loaf, just a related one.
Oats: coarse rolled, not the instant kind. Coarse oats hold their shape and texture while the dough rises and bakes; quick oats turn to paste almost on contact with wet dough, and you'd end up with a gummy streak through the crumb instead of texture. They're doing a structural job here, not just a health-food one — any whole rolled grain that stays intact under moisture can stand in.
Two flours, plain and wholemeal, in a roughly eight-to-one ratio. Plain flour is what gives the dough its stretch and rise — it's mostly the gluten-forming proteins, with the bran and germ milled out. Wholemeal brings the bran back in, and bran is sharp-edged at a microscopic level; it cuts through the gluten strands as they try to form, which is exactly why wholemeal dough on its own tends to rise less and bake denser. Keeping wholemeal as the minority flour here means you get its flavour and a bit of its fibre without losing the lift.
The honey is doing two things: feeding the yeast fast sugar to get going on, and helping the crust brown later through the same reaction that browns toast and roasting vegetables, sugar and protein reacting under heat. Any plain sugar that dissolves clear in water — caster sugar, golden syrup — will feed the yeast the same way, though honey's flavour is its own thing and won't be exactly replaced.
On the two rises: the first, 45 minutes loose in a bowl, lets the yeast get a head start and spread gas bubbles through a dough that's still free to move. The second, a full two hours in the tin, is the slower, patient part — a wet, wholegrain-and-oat dough is naturally sluggish to rise, both because of all that moisture weighing it down and because the bran is working against the gluten the whole time. Rushing that second rise is how you end up with a loaf that's dense at the bottom and only properly risen near the top. Patience here isn't an extra — it's doing the job that kneading does in a drier dough.
Grease the tin because this dough, being wet and full of oats, will bond to bare metal as it bakes — the fat creates a barrier so you get the loaf out rather than half of it. A 27×21cm tin is wide and shallow rather than tall, which is worth knowing because it means more surface area meeting the heat, and that's part of why the bake finishes in under forty minutes total rather than the hour-plus you'd expect from a taller, denser loaf tin.
The two oven stages aren't fussiness. At 175°C the loaf sets its crumb gently — if you went straight in at 225°C, the crust would form and harden before the inside had finished expanding and cooking through, trapping a wet, under-baked centre under a crust that looks done. The jump to 225°C afterwards is for colour and crust, now that the structure underneath can take the heat without collapsing. A fan oven helps here because it keeps the heat even round a wide shallow tin, rather than scorching the side nearest an element.
Last thing, and it's small but it matters: onto a wire rack straight out of the oven, not a plate. A hot loaf is still giving off steam from inside, and a solid surface traps that steam against the base, turning a good crust soggy from underneath within minutes. A wire rack lets air move under the loaf while it cools — the cheapest fix in the whole recipe, and the easiest one to skip by accident.