
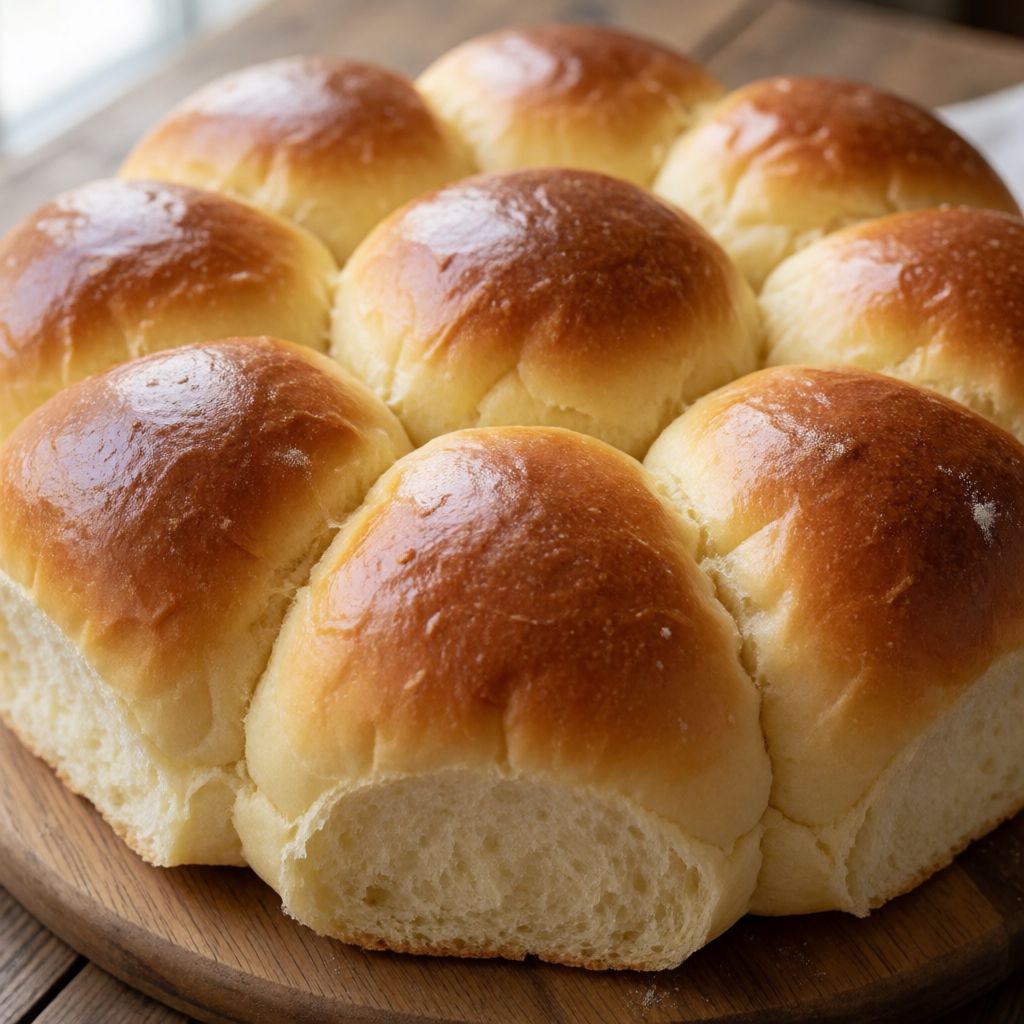
 AI photo
Sweet Danubio Buns
Soft Italian buns filled with Nutella or jam, baked golden and served warm.
Labels are worked out automatically from the ingredients and can be wrong. Check the packaging if it matters to you.
Ingredients
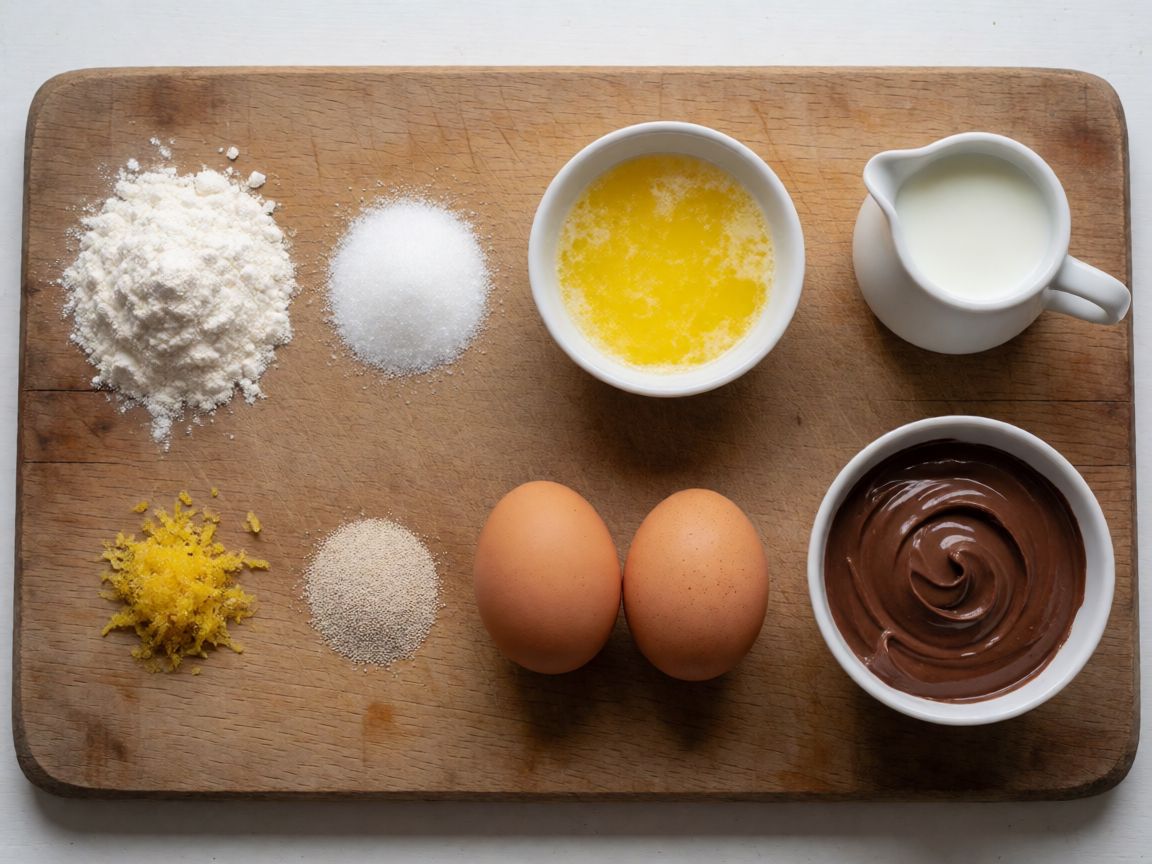
- 450 g Plain flour
- 30 g Caster sugar
- 40 g Butter melted
- 200 g Milk
- 8 g Salt
- 15 g Yeast or 6 g dried
- 2 pcs Eggs
- 1 pcs Lemon zest
- Nutella to taste
- Jam to taste, cooked
- Icing sugar to taste
- 1 tbsp Vegetable oil for greasing the work surface and bowl












Steps
On the work surface, sift the flour into a mound; in the centre well add the sugar, yeast, lemon zest and melted butter.
Add the egg and mix the ingredients in with your fingers.
Pour in the milk, mix for a few minutes, add the salt and knead vigorously for another 5 minutes until the dough is tight and smooth.
5 minTransfer the dough to a bowl, grease with oil, cover with film and leave to rise.
60 minDivide the dough into 40 g pieces and flatten each one.
Put Nutella or jam in the centre, pinch the edges together to form a ball.
Arrange the balls in a circle in a greased 28 cm tin, leaving gaps between them.
Leave to rise for 1 hour in the switched-off oven.
60 minBrush the balls with beaten egg.
Bake at 180°C in a preheated fan oven.
28 minRemove from the oven and serve while still warm.
Danubio is a Neapolitan thing really — a ring of soft, filled buns baked so close together they fuse, pulled apart at the table rather than cut. The "sweet" version is the one that's travelled furthest: fill with Nutella or jam instead of ham and cheese, and you've got a brunch centrepiece that looks like you tried harder than you did. What decides whether it works is the dough's hydration and the rise, not the filling — a wet, slack dough gives you buns that spread flat and merge into a cake instead of staying as distinct, pullable domes.
The giveaway of a Danubio done right is the tear: each bun keeps its own soft wall, but the walls between neighbours have welded shut from touching in the tin. That weld is the whole point of "leaving gaps" in step 7 — not decoration, structure. Pack the balls tight at the start and they'll push each other up and out of shape as they rise; leave real gaps and they expand sideways until they just kiss, which is the moment you want.
Some say you need a stand mixer for a dough this enriched — no, because at 450 g flour and this ratio of milk to butter, it's a soft dough, not a wet one; ten minutes of proper hand-kneading on a worktop gets you the same tight, smooth ball, you just feel the change under your palms instead of watching a machine do it. That tactile check — dough stops sticking, starts resisting back — is worth more than any clock.
Flour first: plain flour, not bread flour, is deliberate here — this isn't a chewy, open-crumb loaf, it's meant to tear soft and a bit cakey, and the lower protein of plain flour gives you that without fighting the butter and sugar for structure. If you've only got strong flour, it'll still work, just knead a shade less to avoid toughening it.
The yeast quantity (15 g fresh or 6 g dried) is generous for this amount of flour, and that's not a mistake — it's a rich dough, loaded with butter, sugar and egg, all of which slow yeast down by coating the gluten and diluting the water yeast needs to work in. More yeast compensates for that drag. Scrimp on it and you'll wait far longer than the hour given, or get a denser bun than the recipe intends.
The well-in-a-mound method (step 1) is really just about control: mixing the enrichments — sugar, yeast, zest, butter — into a dry centre before the wet ingredients arrive means nothing clumps and nothing kills the yeast by sudden contact with salt or too much sugar in one spot. In an ordinary kitchen, doing this on a worktop rather than in a bowl just gives you more surface to push against when you knead — a bowl is fine too, you'll just use your knuckles differently.
Salt goes in after the first mix, not with the yeast at the start — that's step 3's quiet instruction, and it's there to stop salt sitting directly against the yeast and slowing its action before the dough's even built. Small thing, real reason.
The two rises are doing different jobs. The first (step 4, in the bowl) builds the dough's structure and flavour — this is where patience is the actual ingredient, not an inconvenience; rushing it with a warmer spot just gives you a dough that's ballooned without the gluten network to hold the gas, and it'll collapse back when you shape it. The second rise, in the switched-off oven with the shaped buns already in the tin, is about final volume and that fused-ring shape — the enclosed oven cuts drafts and gives steady warmth without a direct heat source cooking the surface.
On fillings: Nutella behaves predictably because it's thick and set at room temperature — it won't leak through the seam. Jam needs to be "cooked" as the recipe says, meaning reduced, not straight from a jar of thin preserve — a runny jam will seep out through the pinch in step 6 as it heats and thins further in the oven, leaving you with a sticky patch on the base of the tin instead of a filled bun. If you're using homemade jam, boil it down until a spoonful holds its shape on a cold plate before you use it.
The 28 cm tin size matters for the same gap-logic as before — too small and the buns are forced to overlap too early and lose shape; too large and they never touch, so you get individual rolls, pleasant enough, but not a Danubio. A springform or a deep cake tin both work; what you're choosing for is straight sides, so the ring holds together as it's lifted out.
Egg wash at step 9, not before the second rise, because brushing a risen, delicate dough too early — or brushing it twice — can deflate the surface tension that's holding the gas in; one light coat right before baking gives you colour without that risk. If you're avoiding egg wash, a little warm milk gives a softer, paler finish — no shine, but no harm either.