
 AI photo
Cake Pops
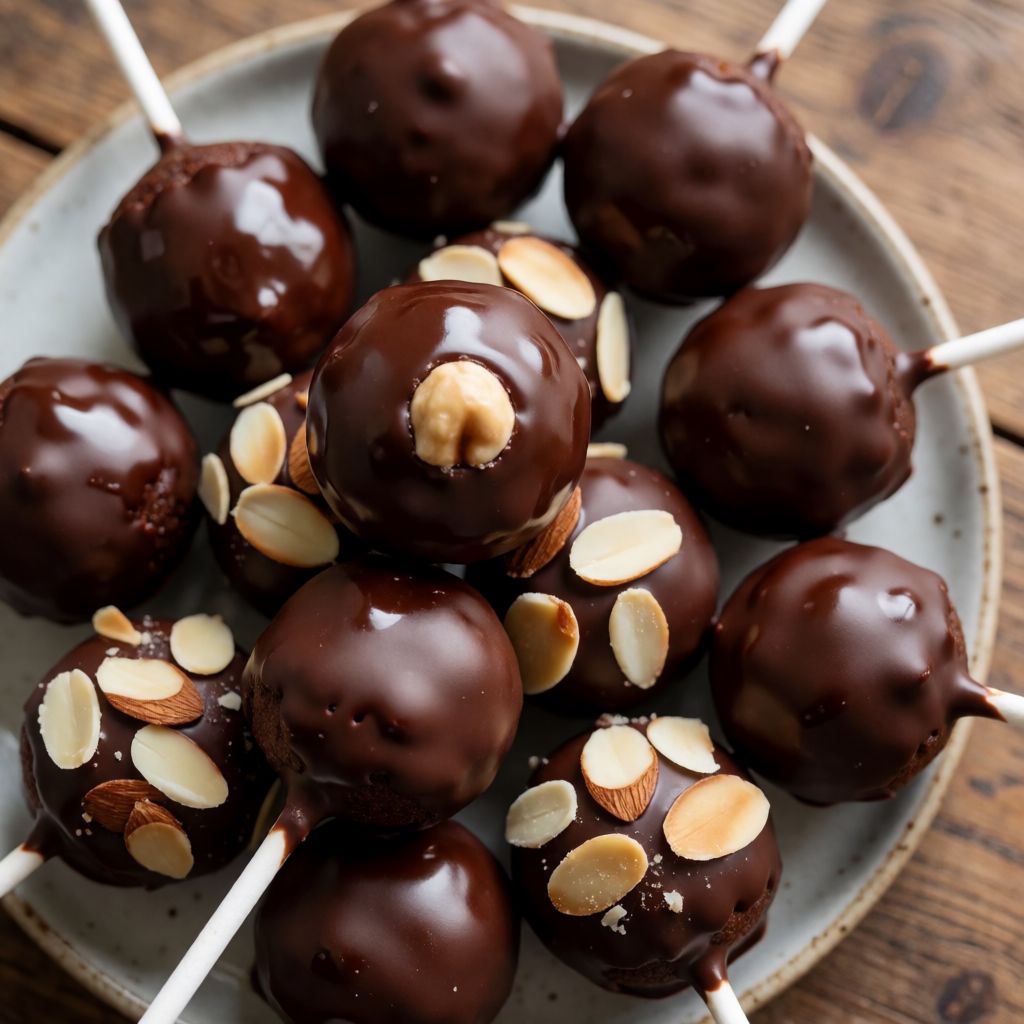
Sponge cake crumbs mixed with jam or chocolate-hazelnut spread, rolled into balls, dipped in chocolate and decorated.
Labels are worked out automatically from the ingredients and can be wrong. Check the packaging if it matters to you.
Ingredients
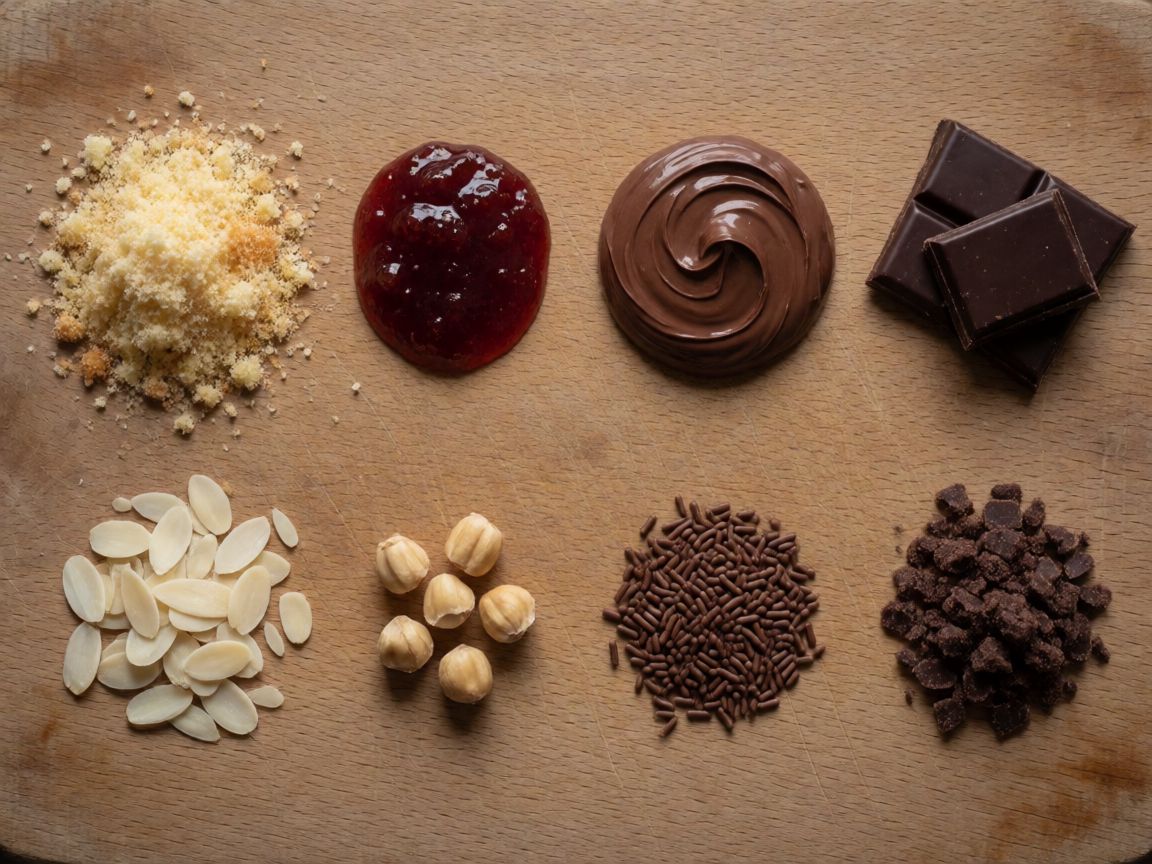
- 250 g sponge cake crumbs
- 2-4 tbsp jam plum, apricot or strawberry, to taste
- chocolate-hazelnut spread to taste
- 200 g dark chocolate
- flaked almonds to taste
- chopped hazelnuts to taste
- sprinkles to taste
- chocolate sprinkles to taste
- desiccated coconut to taste
- sugar stars to taste
- chocolate muesli to taste







Steps
Crumble the sponge cake by hand into fine crumbs and divide between two bowls. Mix jam into one bowl and chocolate-hazelnut spread into the other.
Shape into balls about the size of a walnut, roughly 20-25 g each, and place on a tray.
Put the balls in the freezer.
30 minMelt the chocolate in a bowl over a pan of simmering water or in the microwave until smooth and liquid.
Take out the balls, push a stick into each one, dip in the chocolate, then turn the stick to remove the excess.
Roll the cake pops in your chosen sprinkles, working one at a time.
Leave the cake pops to set, standing the sticks in a polystyrene block or a jar.
15 minChill the cake pops in the fridge before serving.
60 min
Cake pops are a way of not wasting cake — and a way of making a dessert that looks like it took a pastry school, when really it's a leftovers trick with a stick and some chocolate. The whole dish is binding and setting: crumb and jam or spread fused into a paste that holds its shape, then a chocolate shell that seals and sets it hard. Nothing here is baked. Everything is assembled, chilled, and dipped.
What decides whether it works is moisture, not flavour. Too dry a crumb and the balls crack when you squeeze them; too wet, from too much jam, and they slump off the stick in the warm chocolate. You're aiming for something like damp sand that holds a shape when pressed — firm enough to stand a stick in, soft enough not to need kneading into submission. If your sponge is a bit stale, that's not a problem, that's an advantage: stale crumb drinks jam evenly instead of turning to mush in patches.
The freezer step is not about chilling for its own sake. A warm, soft cake ball dipped into warm melted chocolate will start to give at the surface before the shell sets — the chocolate slides, pools at the bottom, and you get a pop with a thin cap and a bare patch underneath. Freezing the ball solid means the chocolate hits a cold surface and sets almost on contact, which is also your real defence against the coating cracking later: a shock-set shell on a firm core moves as one piece.
Some say you need special candy melts to get a shell that snaps properly. No — plain dark chocolate does the job, and does it better, because candy melts are built to stay glossy and a bit soft, while proper chocolate, once it's gone through a cold ball and a cold fridge, sets with a clean break. The only real argument for candy melts is that they don't seize as easily if a drop of water gets in. Keep your bowl, your spoon and your pan dry and you don't need them.
On the melting itself: a bowl over barely simmering water, not touching it, is the safer route on a domestic hob, because dark chocolate scorches and turns grainy above about 45–50°C — you'll feel it go from fluid to thick and dull rather than smooth. The microwave works too, but in short bursts, stirring between each, because chocolate holds its shape right up until the second it's actually burnt; there's no visual warning, only a sudden change in texture. If it does seize — goes stiff and matte instead of pouring — that's moisture or overheating, not a bad batch of chocolate, and stirring harder won't fix it.
The crumb is the base of the whole thing, and any plain sponge works — Victoria sponge, a shop-bought Madeira loaf, even a slightly dry leftover birthday cake. What you don't want is anything with its own strong flavour or a wet filling already in it, because that fights the jam or the hazelnut spread for control of the texture. Jam's job is moisture and a little sharpness against the sweetness of the chocolate; use whatever stone-fruit or berry jam you have, the named ones are a steer, not a rule. The chocolate-hazelnut spread does the same binding job but adds its own fat, so those balls will feel slightly softer and richer — don't mix the two fillings into one bowl, keep them apart so you get two different pops, not one muddled one.
For the coating on the outside, the only real criterion is that it has to be dry and small enough to stick to wet chocolate without sliding off — flaked almonds, chopped hazelnuts, desiccated coconut, sprinkles, sugar stars, chocolate muesli are all just variations on "dry, small, decorative." Roll one pop at a time, straight after dipping, while the chocolate is still tacky; leave several dipped pops waiting and the shell skins over and nothing sticks.
Standing the sticks upright to set — in a jar, a glass, a block of polystyrene if you've got packaging lying around — isn't fussiness, it's physics: lay a wet-coated ball on its side on a tray and the chocolate pools at the bottom under its own weight while it's still liquid, and you get a flat foot instead of a round pop. The later chilling in the fridge before serving is the final set — it firms the fat in the chocolate properly, so the shell gives you that clean bite instead of smearing. And patience is the real ingredient twice here: once in the freezer, forming the base hard enough to dip, and once in the fridge, finishing the shell. Skip either chill because you're in a hurry and you'll end up holding a stick with a puddle on the end of it, not a cake pop.